Lifestyle
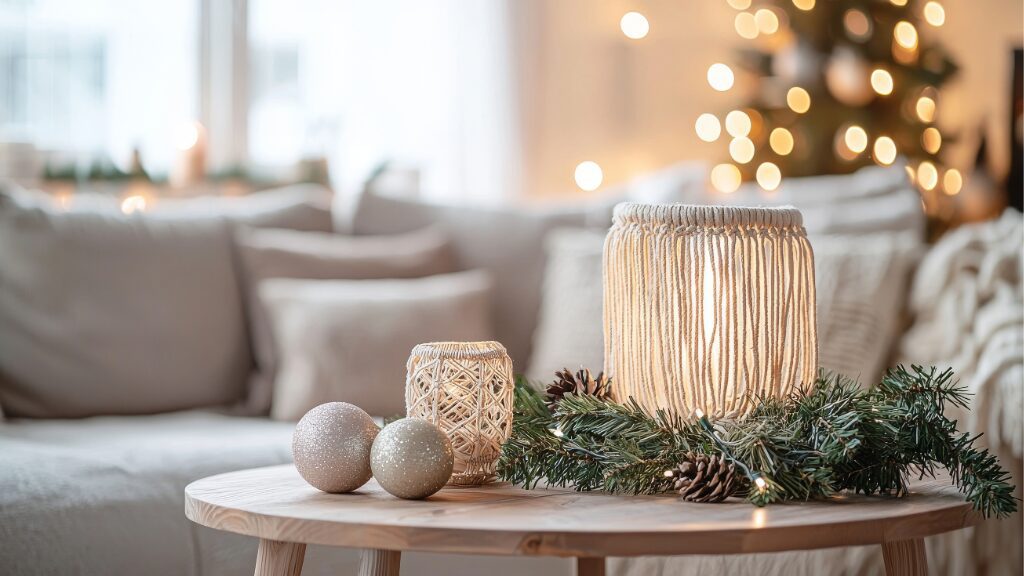
Your Ultimate Guide to Holiday Entertaining
By Steve Shinn, CR |
The holiday season is upon us, and with it comes a flurry of parties, gatherings, ...
Read More 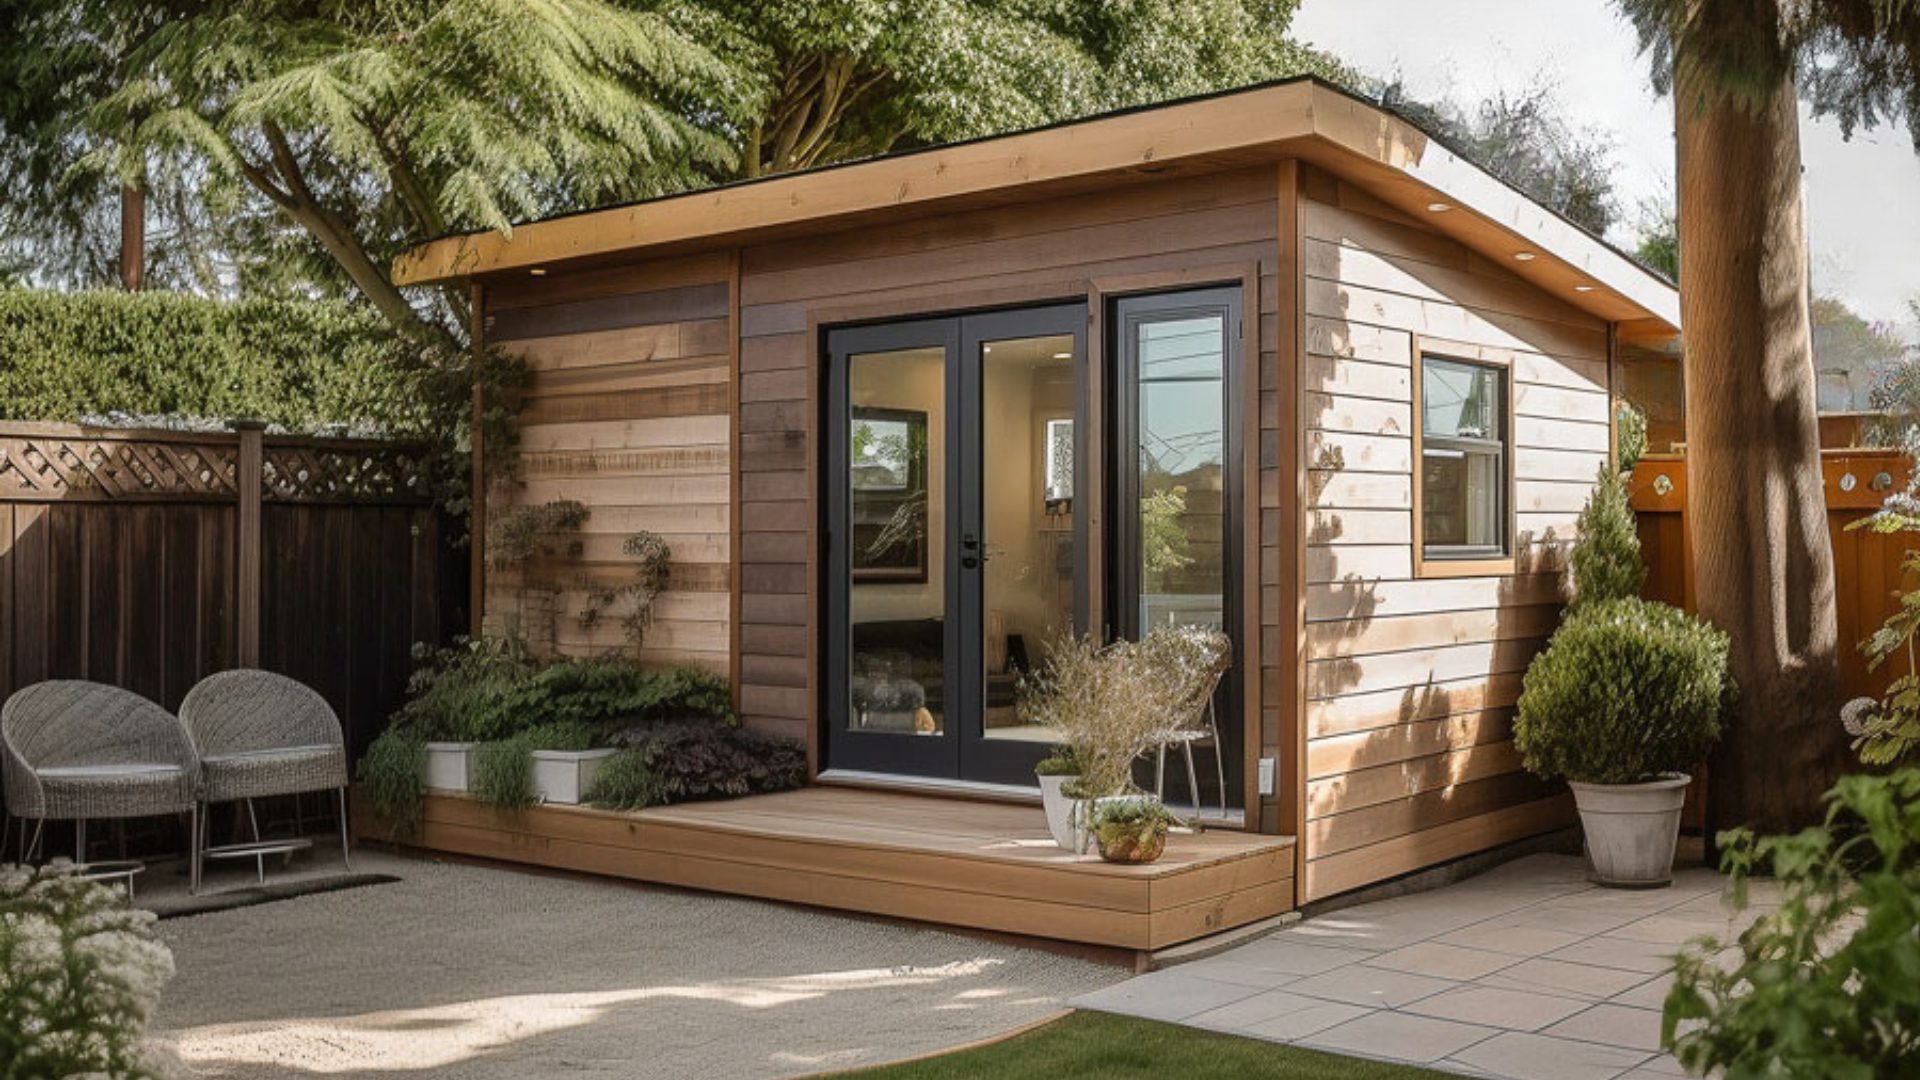
Small Space Living Inspiration: Clever ADU Design Ideas
By Steve Shinn, CR |
Thinking of adding a guesthouse or rental unit to your property? Accessory Dwelling Units (ADUs) ...
Read More 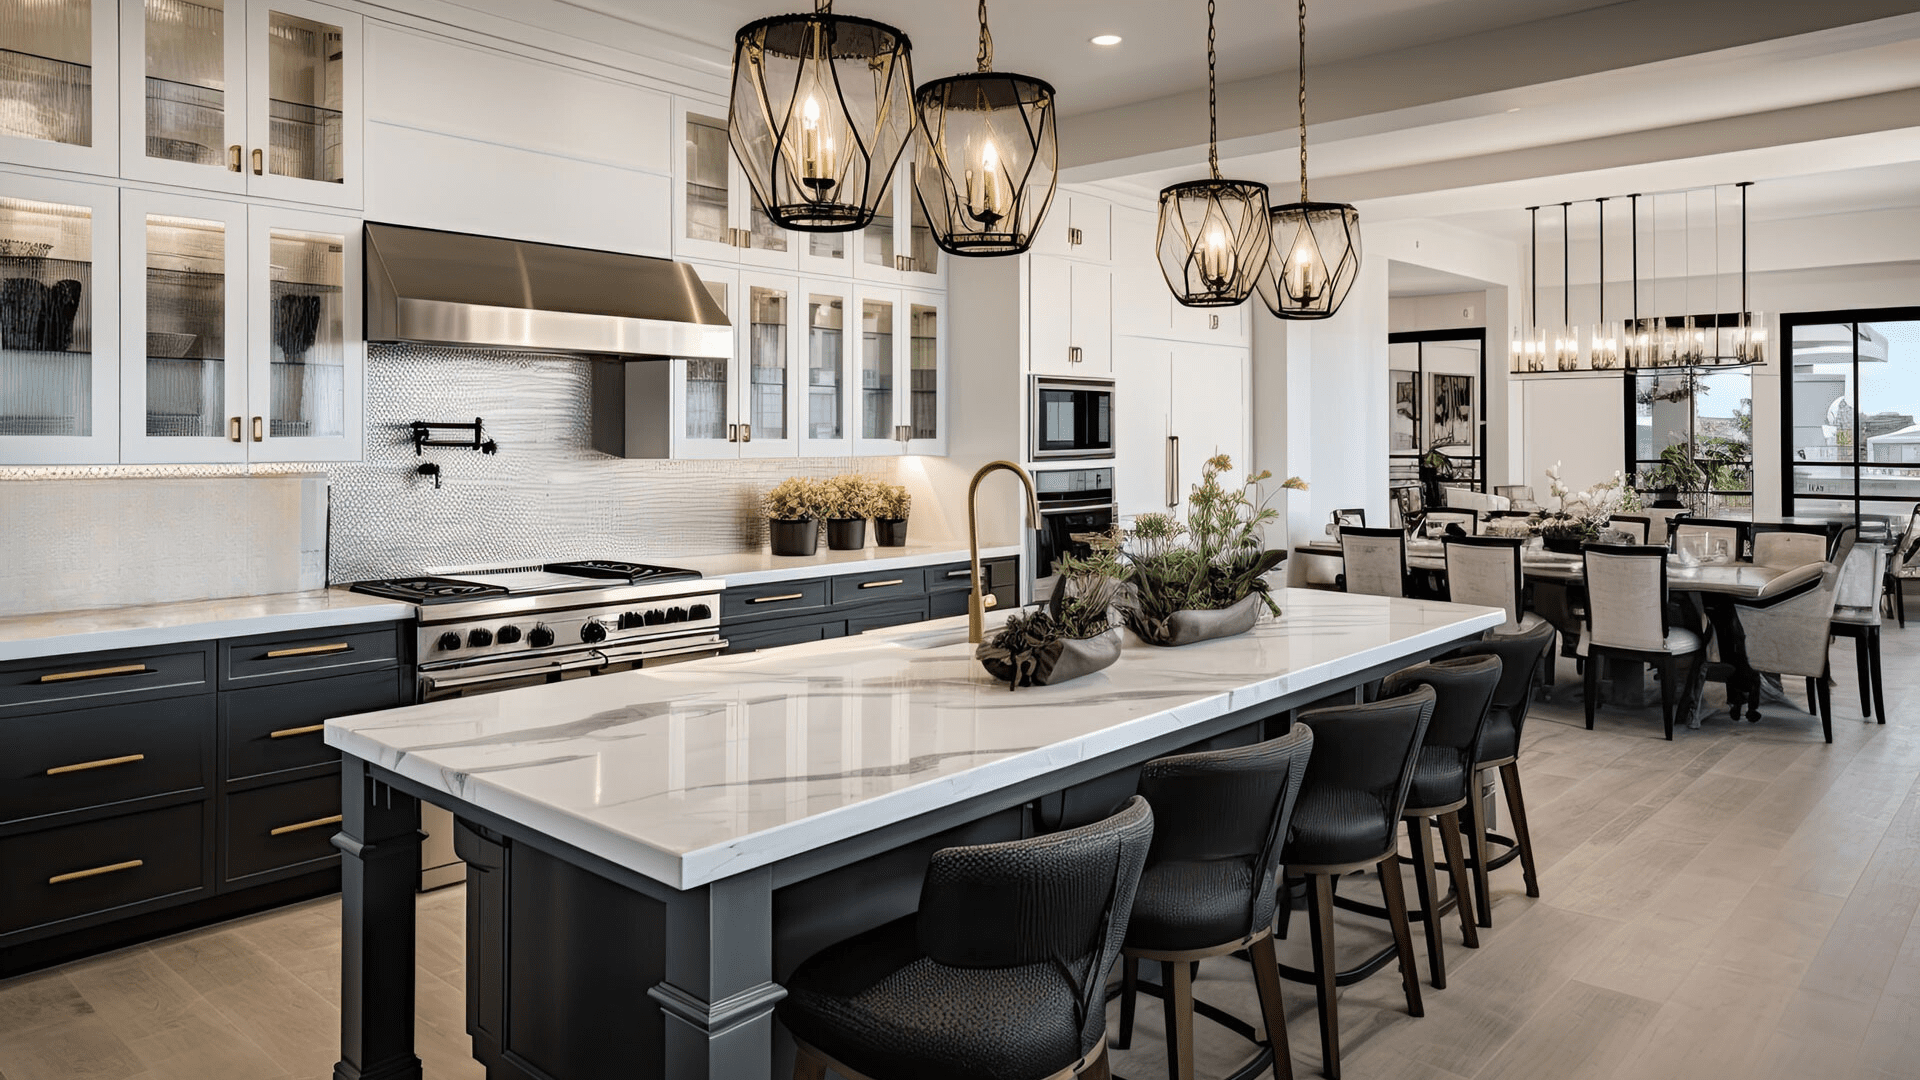
How to Create a Joyful, Clutter-Free Kitchen
By Steve Shinn, CR |
From quick weekday breakfasts to special-occasion dinners planned and prepared with care, the kitchen is ...
Read More 
Home Priorities Shift as Pandemic Reshapes How We Live
By Steve Shinn, CR |
The pandemic permanently changed the way we use our homes. Gone are the days of ...
Read More 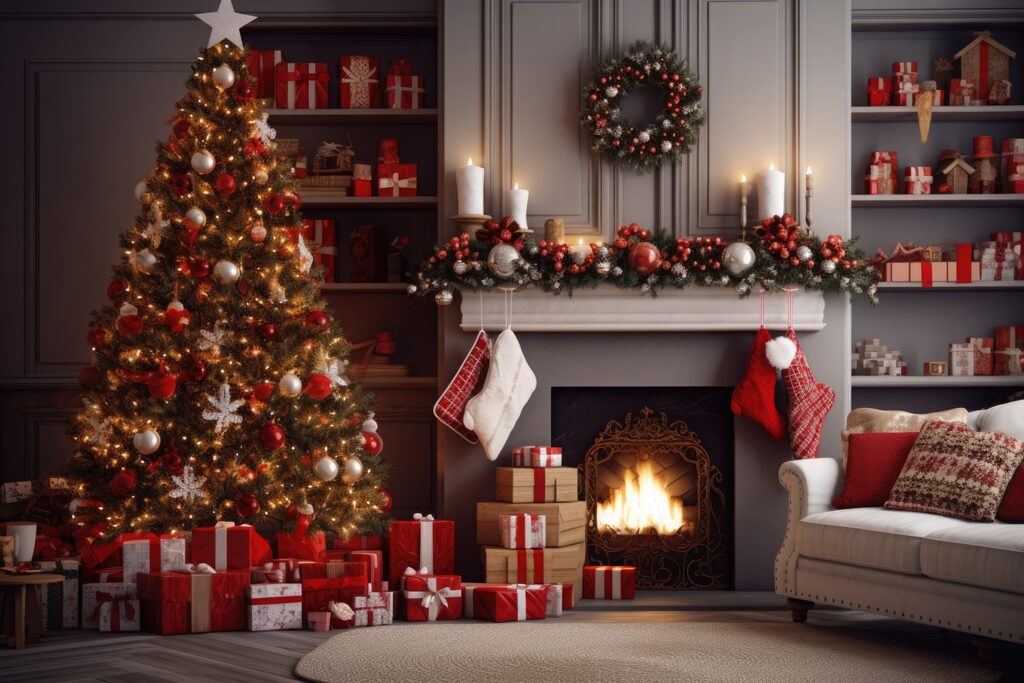
5 Ways to Avoid Holiday Season Burnout
By Steve Shinn, CR |
If your holiday season is anything like mine used to be, it’s lots of fun but hardly ...
Read More 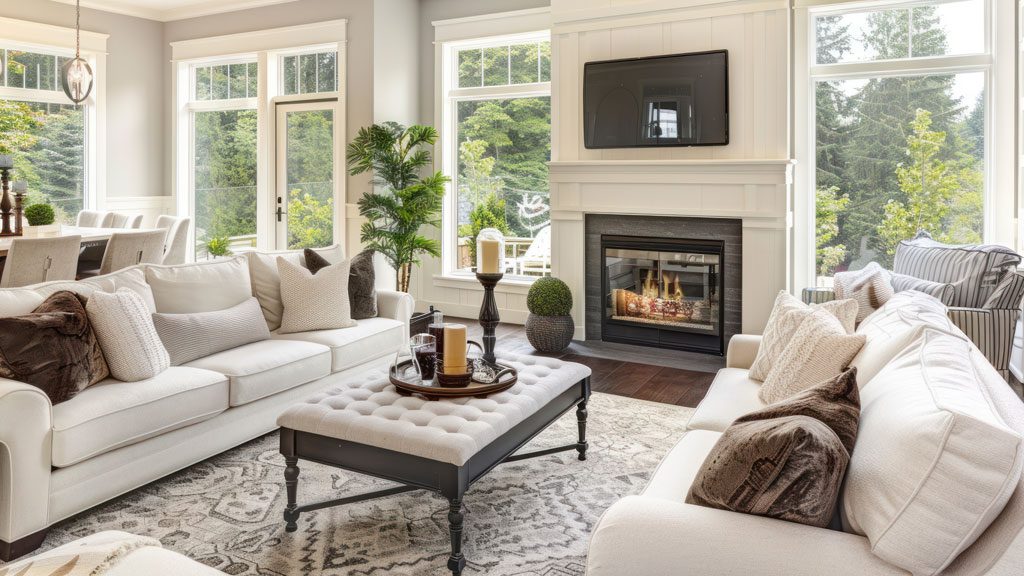
How to Get Your Furniture Arrangement Right
By Steve Shinn, CR |
Like a blank page or canvas, an empty room can be either an opportunity or ...
Read More 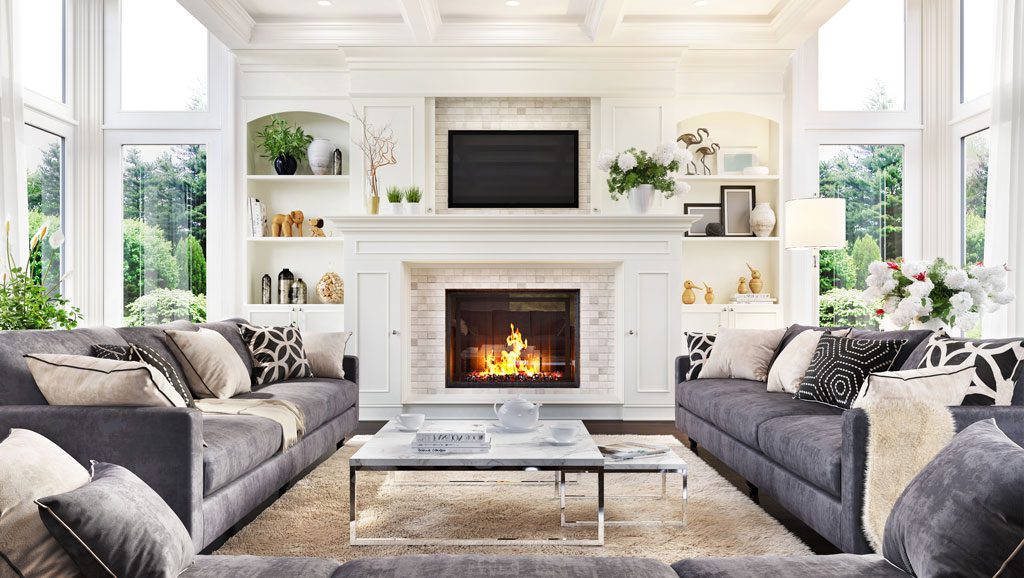
10 Keys to a Well-Functioning House
By Steve Shinn, CR |
The design of a house can have a profound effect on how we feel, but ...
Read More 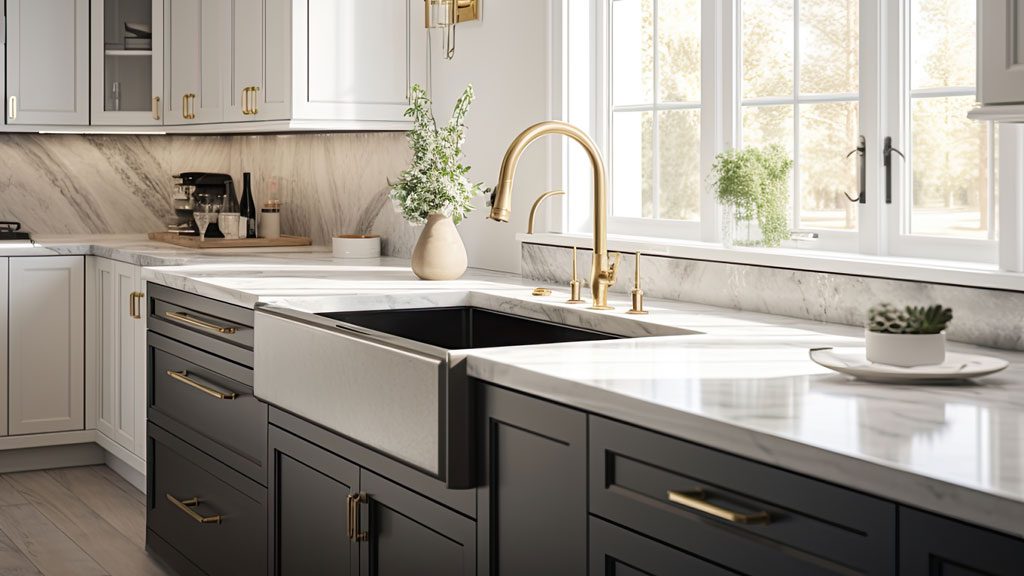
Dream Kitchen Must-Haves: From Practical to Luxurious
By Steve Shinn, CR |
When designing your dream kitchen, it's okay to dream big! Here is a compiled list ...
Read More 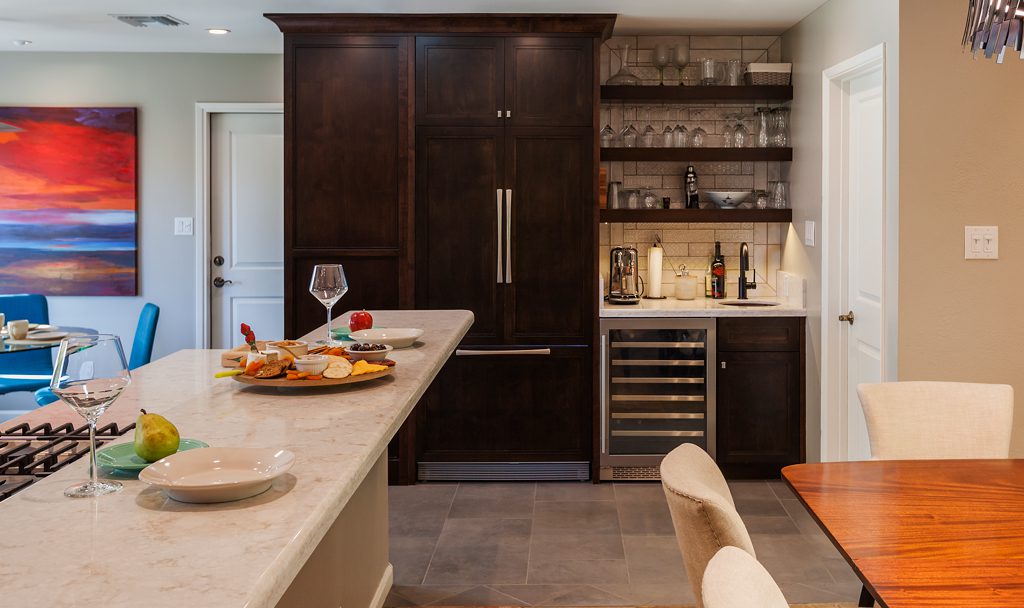
Liven Up Your Space with a Compact Home Bar
By Steve Shinn, CR |
While a sprawling basement pub might not be in the cards, a well-designed home bar ...
Read More 
Top 10 Kitchen Island Must-Haves for 2023
By Steve Shinn, CR |
Kitchen islands are the heart of the modern kitchen, offering extra prep space, storage, and ...
Read More