Build/Design Process

Ever Feel Like Remodeling is a Headache? Design-Build System is Your Answer!
By Steve Shinn, CR |
Are you thinking about a remodel or a new construction project? You’ve probably heard about ...
Read More 
Frequently Asked Questions
By Steve Shinn, CR |
Hundreds of decisions go into a Phoenix home remodel. At Tri-Lite Builders, a trusted Phoenix ...
Read More 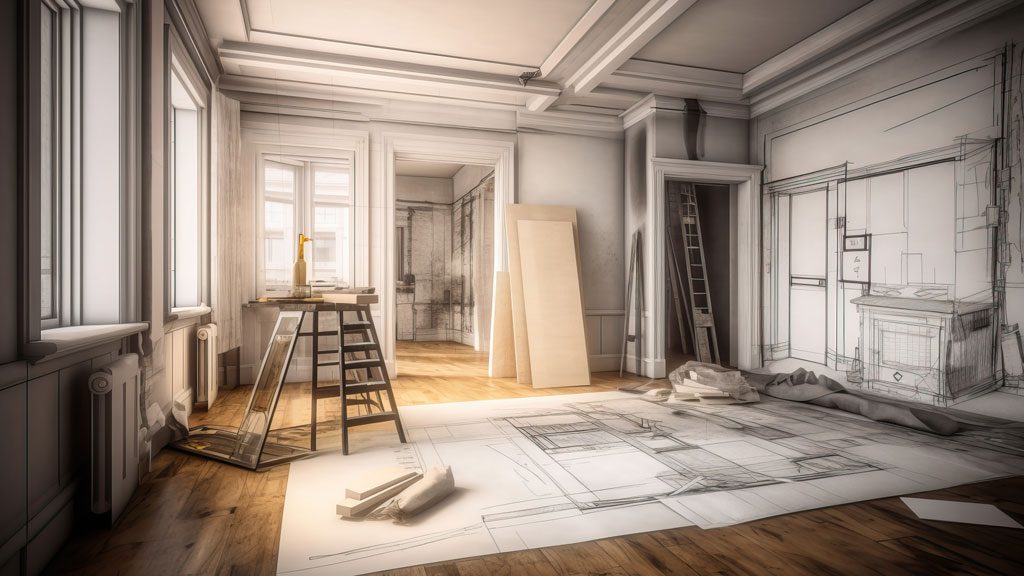
Essential Steps to Get Ready for Your Remodel
By Steve Shinn, CR |
Get Ready For Your Remodel Is your kitchen more a "disaster zone" than a "dream ...
Read More 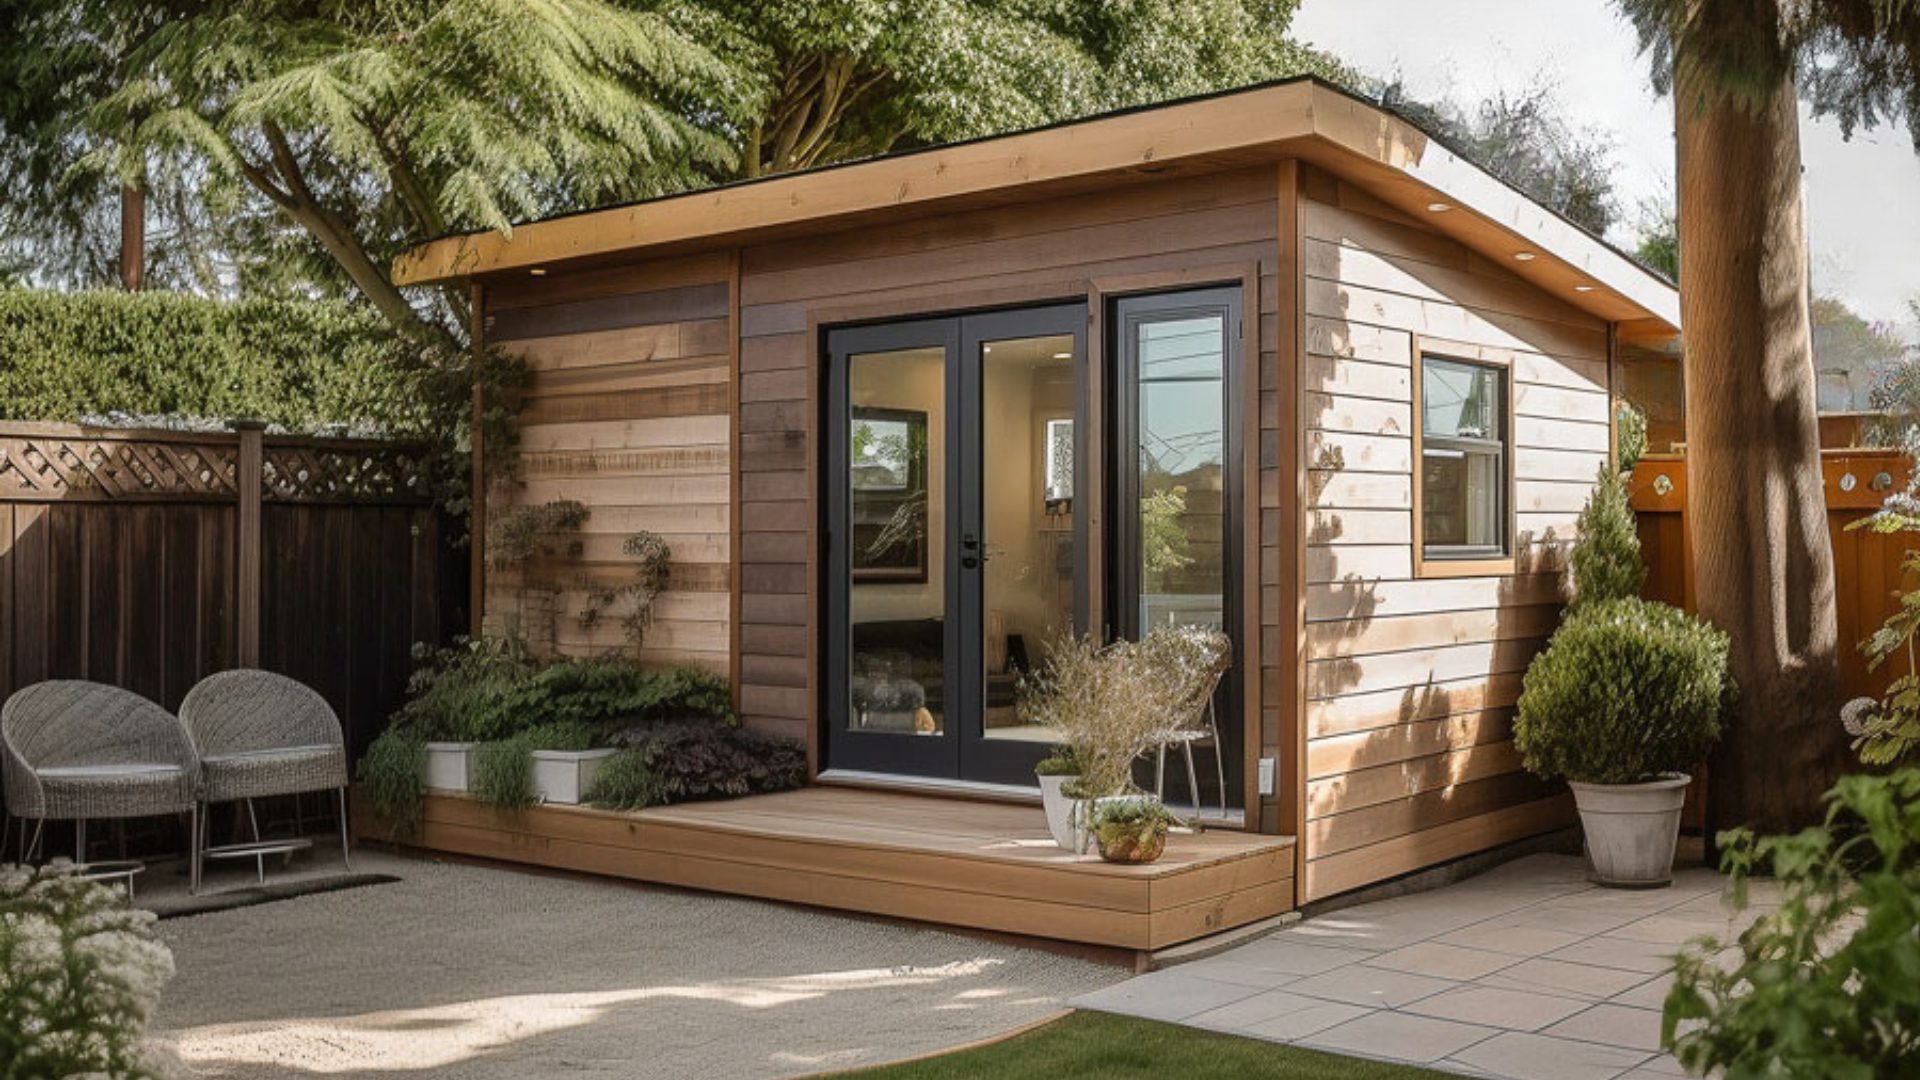
Small Space Living Inspiration: Clever ADU Design Ideas
By Steve Shinn, CR |
Thinking of adding a guesthouse or rental unit to your property? Accessory Dwelling Units (ADUs) ...
Read More 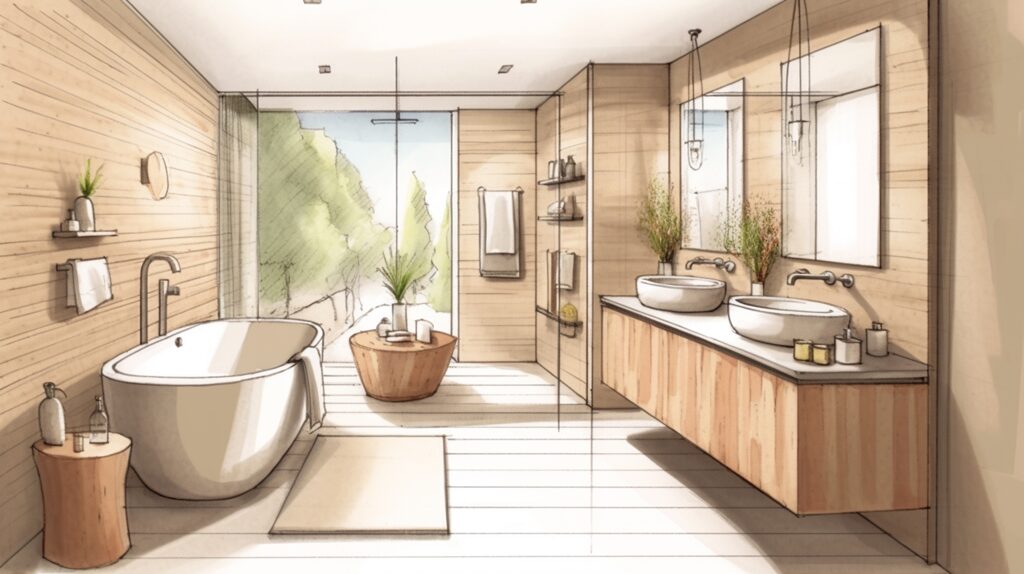
12 Custom Storage Solutions for a Clutter-Free Bathroom
By Steve Shinn, CR |
There are a lot of details, both big and small, to think about when designing ...
Read More 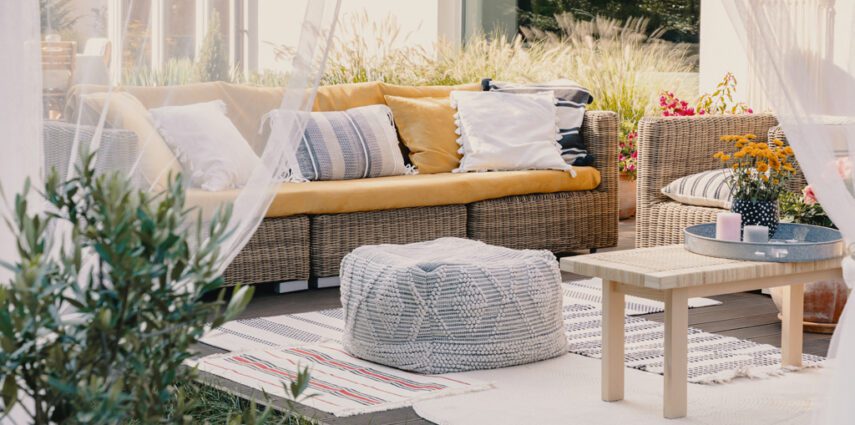
6 Ways to Cool Off Without Air Conditioning
By Steve Shinn, CR |
Having an air conditioner is a near-must in climates where months-long heat waves are a ...
Read More 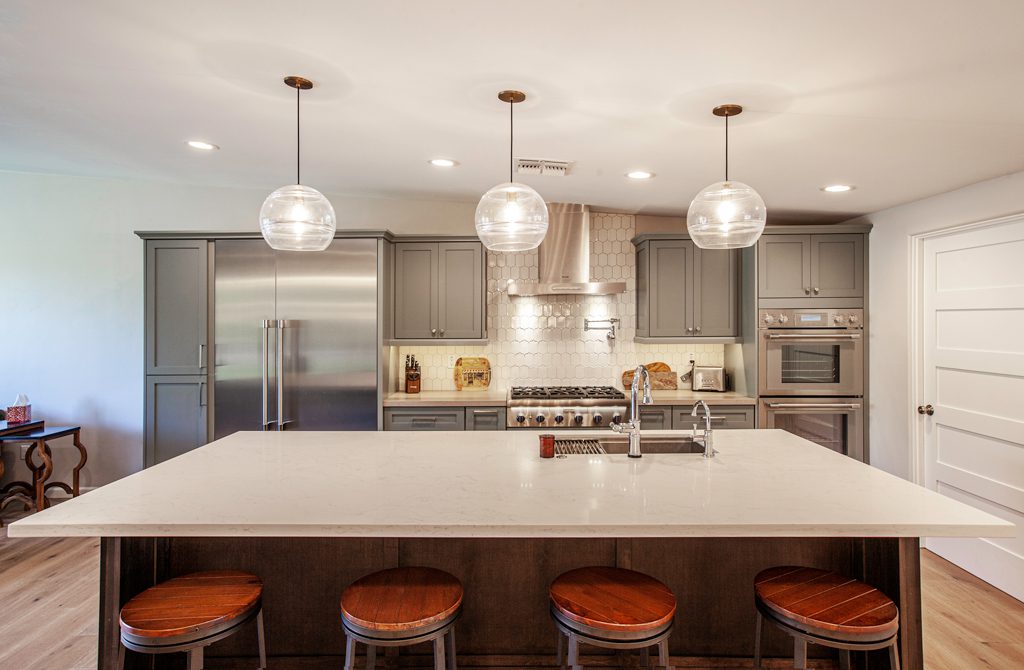
Must-Haves for Your Dream Kitchen
By Steve Shinn, CR |
Expert Insights from Designers and Remodelers Designing a kitchen that's both beautiful and functional can ...
Read More 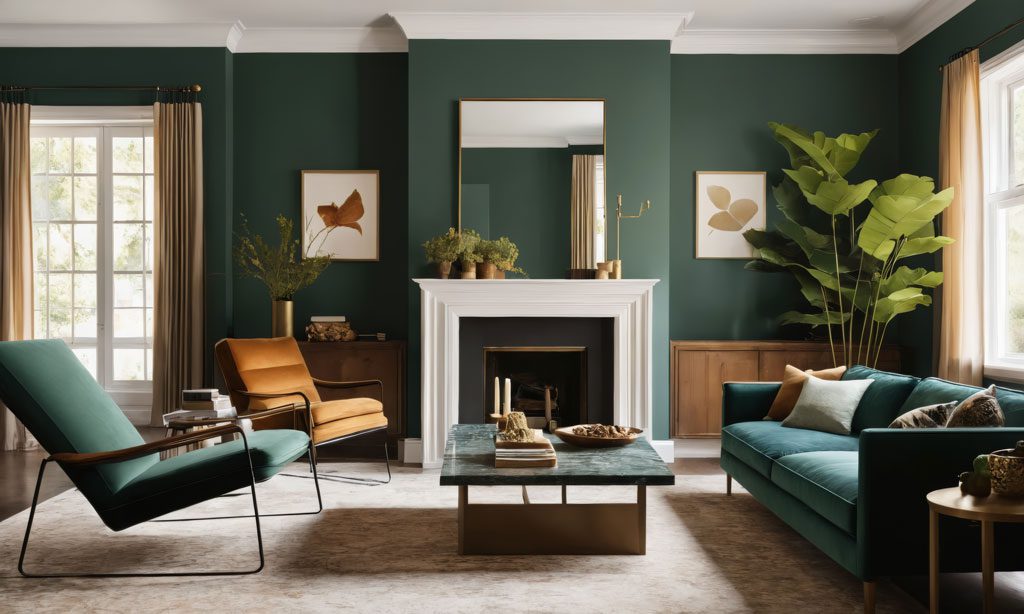
How to Build a Color Palette in 5 Simple Steps
By Steve Shinn, CR |
Color palettes are the secret to giving every makeover that tied together look, but how ...
Read More 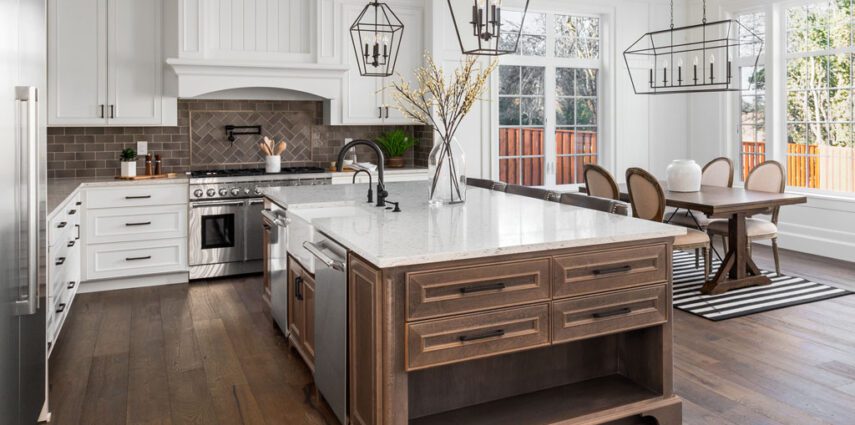
Key Measurements to Help You Design Your Kitchen
By Steve Shinn, CR |
Get the ideal kitchen setup by understanding spatial relationships, key measurements, and work zones Whether ...
Read More 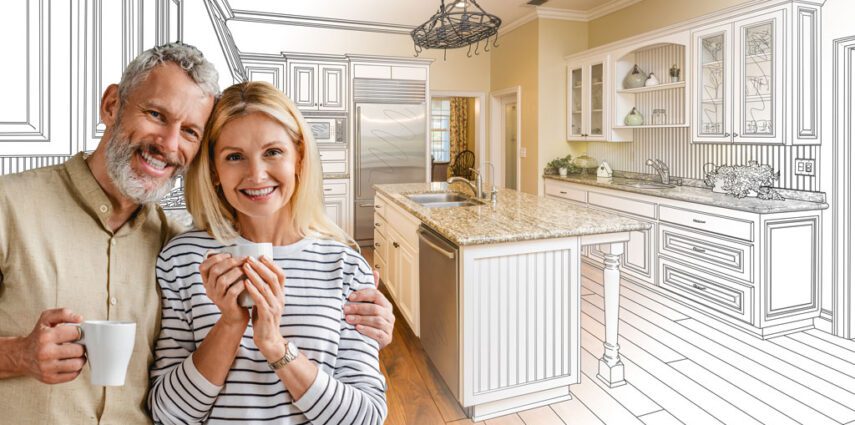
How the Design/Build Concept Works
By Steve Shinn, CR |
You’ve been dreaming of your remodel for a long time and the time is right ...
Read More