Kitchen Remodels
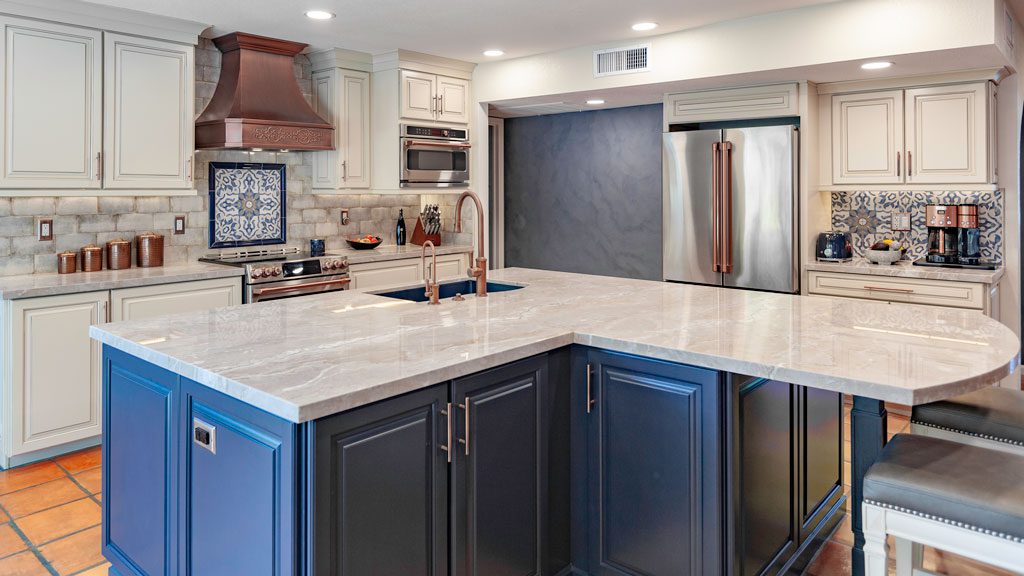
Transform Your Kitchen Island: 15 Innovative Features
By Steve Shinn, CR |
Kitchen islands have become a staple in modern homes, offering both functionality and style. If ...
Read More 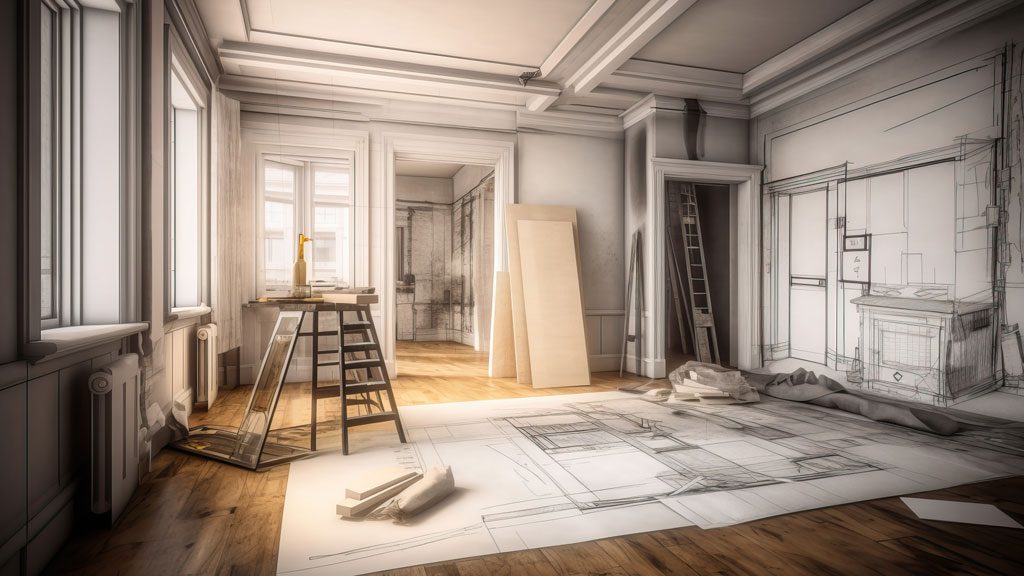
Essential Steps to Get Ready for Your Remodel
By Steve Shinn, CR |
Get Ready For Your Remodel Is your kitchen more a "disaster zone" than a "dream ...
Read More 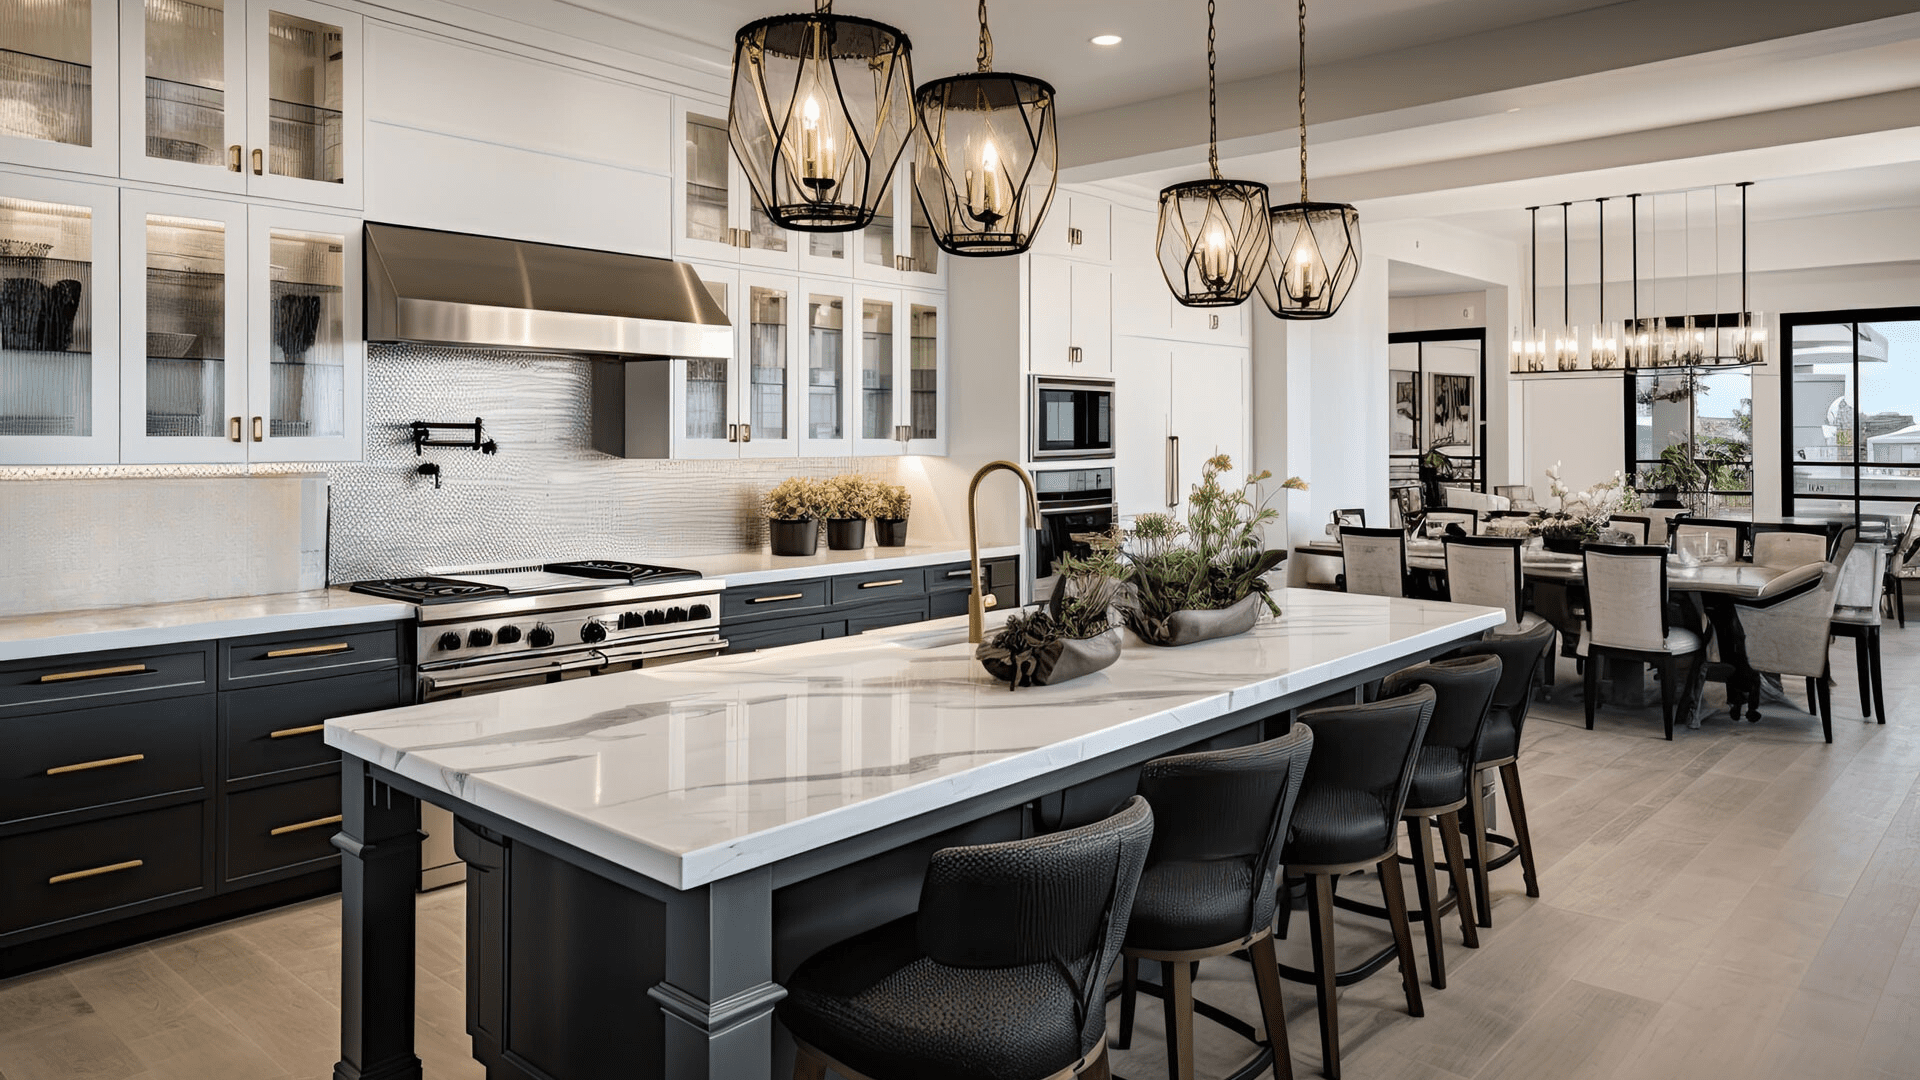
How to Create a Joyful, Clutter-Free Kitchen
By Steve Shinn, CR |
From quick weekday breakfasts to special-occasion dinners planned and prepared with care, the kitchen is ...
Read More 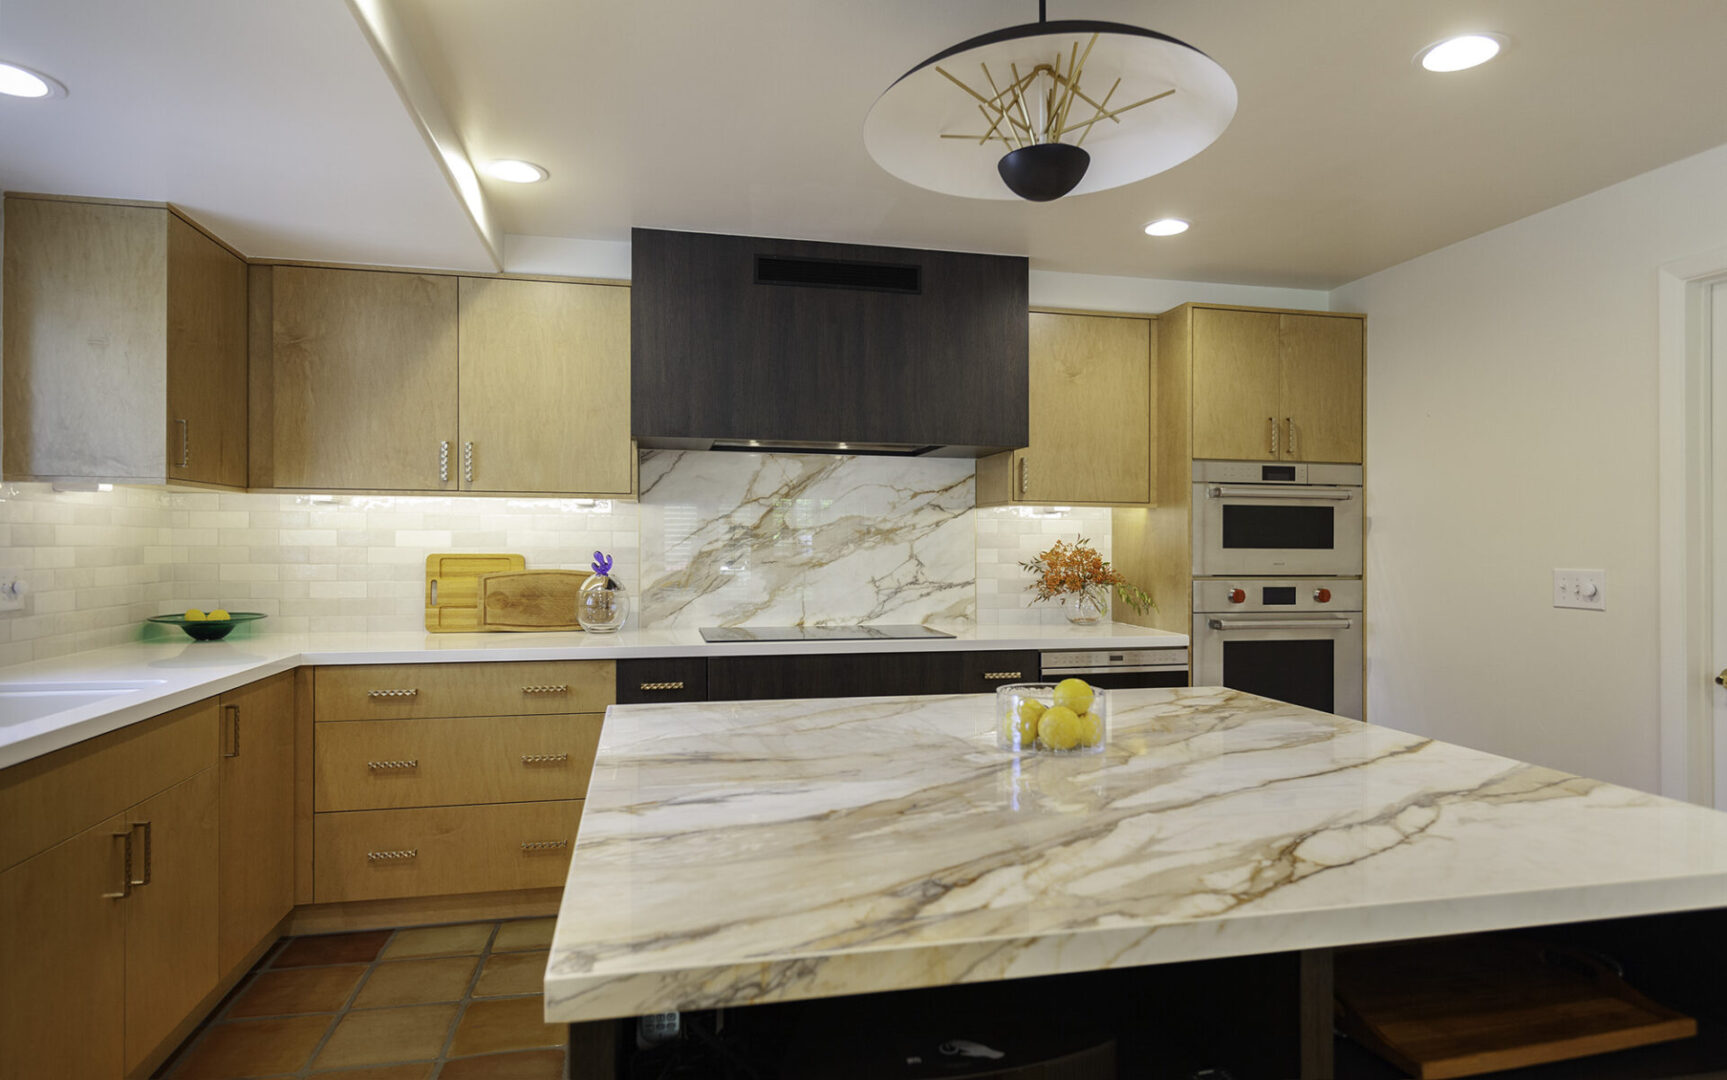
Kitchen Countertop Colors: Picking the Perfect Look for Your Home
By Steve Shinn, CR |
Forget about the pros and cons of different countertop materials! This guide focuses on the ...
Read More 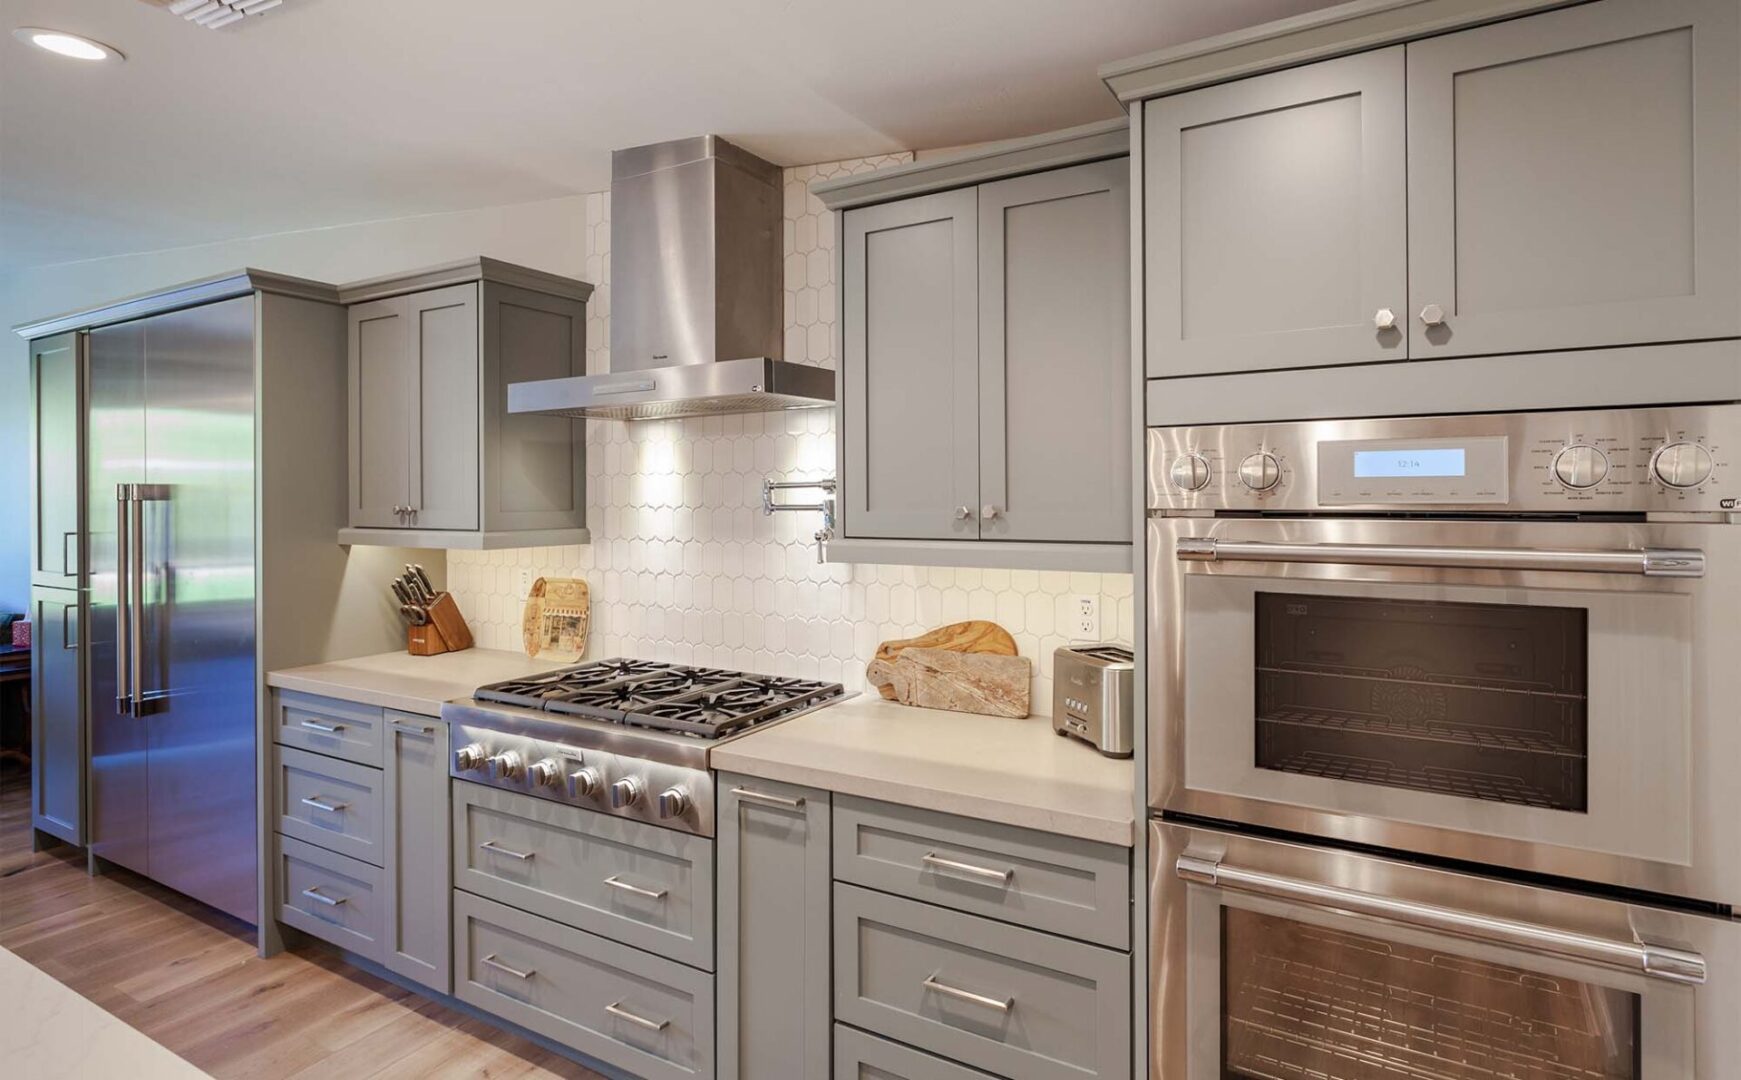
Where Designers Would Spend and Save in a Kitchen
By Steve Shinn, CR |
Our experts suggest where to splurge and where to trim the budget when redesigning your ...
Read More 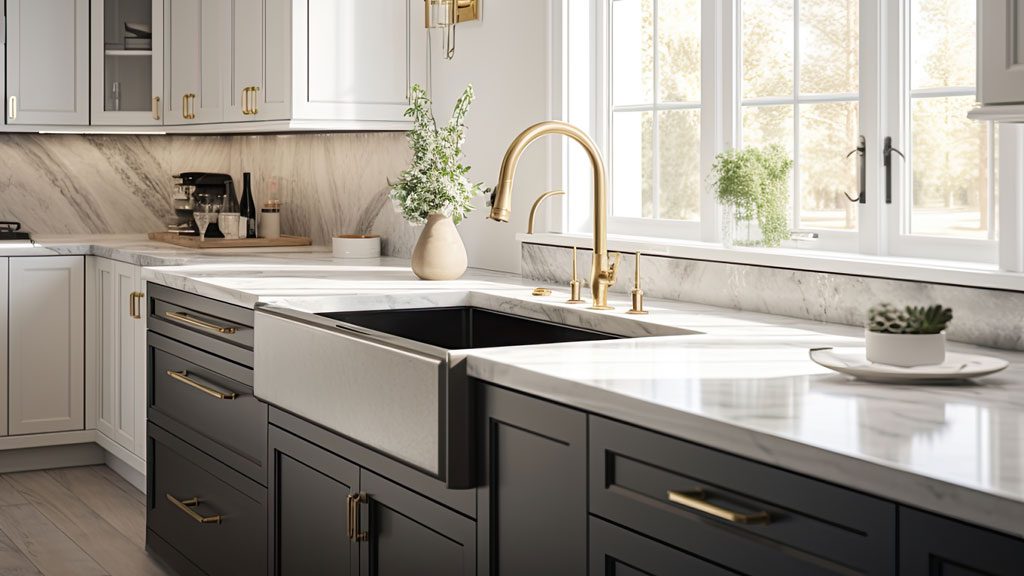
Dream Kitchen Must-Haves: From Practical to Luxurious
By Steve Shinn, CR |
When designing your dream kitchen, it's okay to dream big! Here is a compiled list ...
Read More 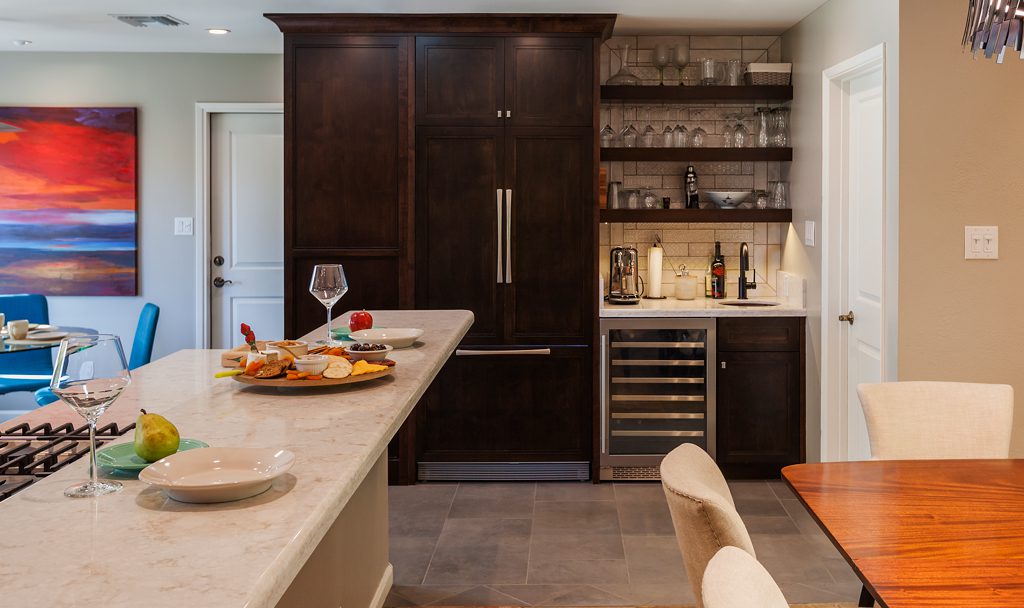
Liven Up Your Space with a Compact Home Bar
By Steve Shinn, CR |
While a sprawling basement pub might not be in the cards, a well-designed home bar ...
Read More 
Top 10 Kitchen Island Must-Haves for 2023
By Steve Shinn, CR |
Kitchen islands are the heart of the modern kitchen, offering extra prep space, storage, and ...
Read More 
10 WAYS TO DESIGN A KITCHEN FOR AGING IN PLACE
By Steve Shinn, CR |
Maybe you’ve found the house you want to grow old in. Perhaps you foresee your ...
Read More 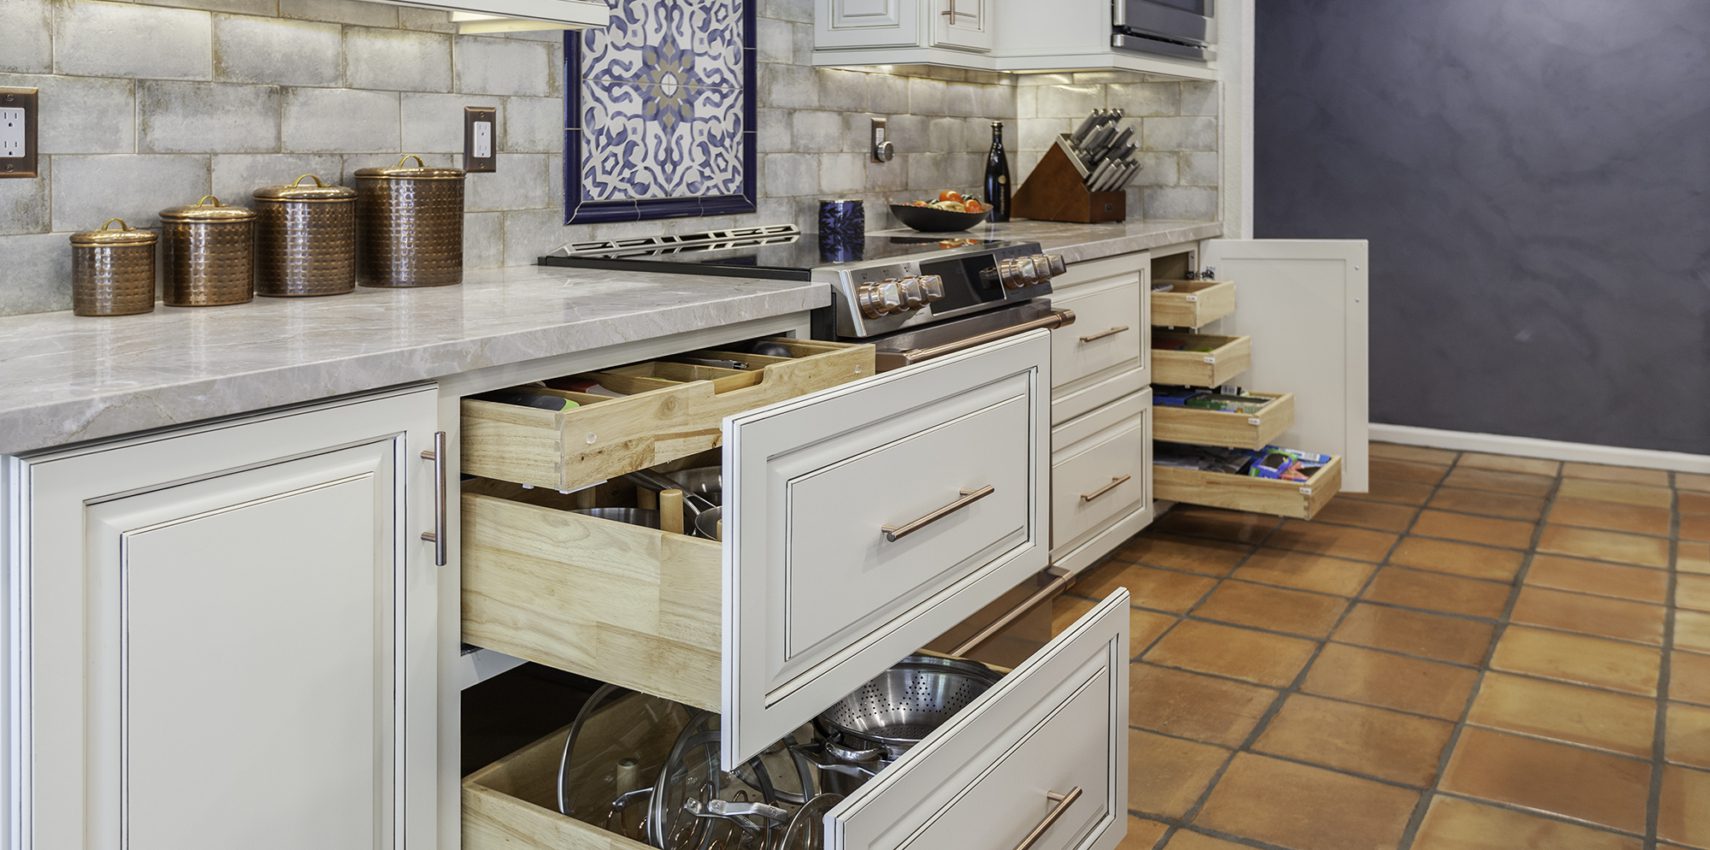
HOW TO STORE KITCHEN TOOLS AND FLATWARE
By Steve Shinn, CR |
They say the key to organization is a place for everything and everything in its ...
Read More