TRENDS AND NEWS ABOUT REMODELS

Essential Tips for Fall Home Care: Phoenix Edition
Although Phoenix’s fall weather is often pleasant, it’s important to remember that the desert climate can still present unique challenges for home maintenance. To ensure your home remains comfortable and ...
Read More 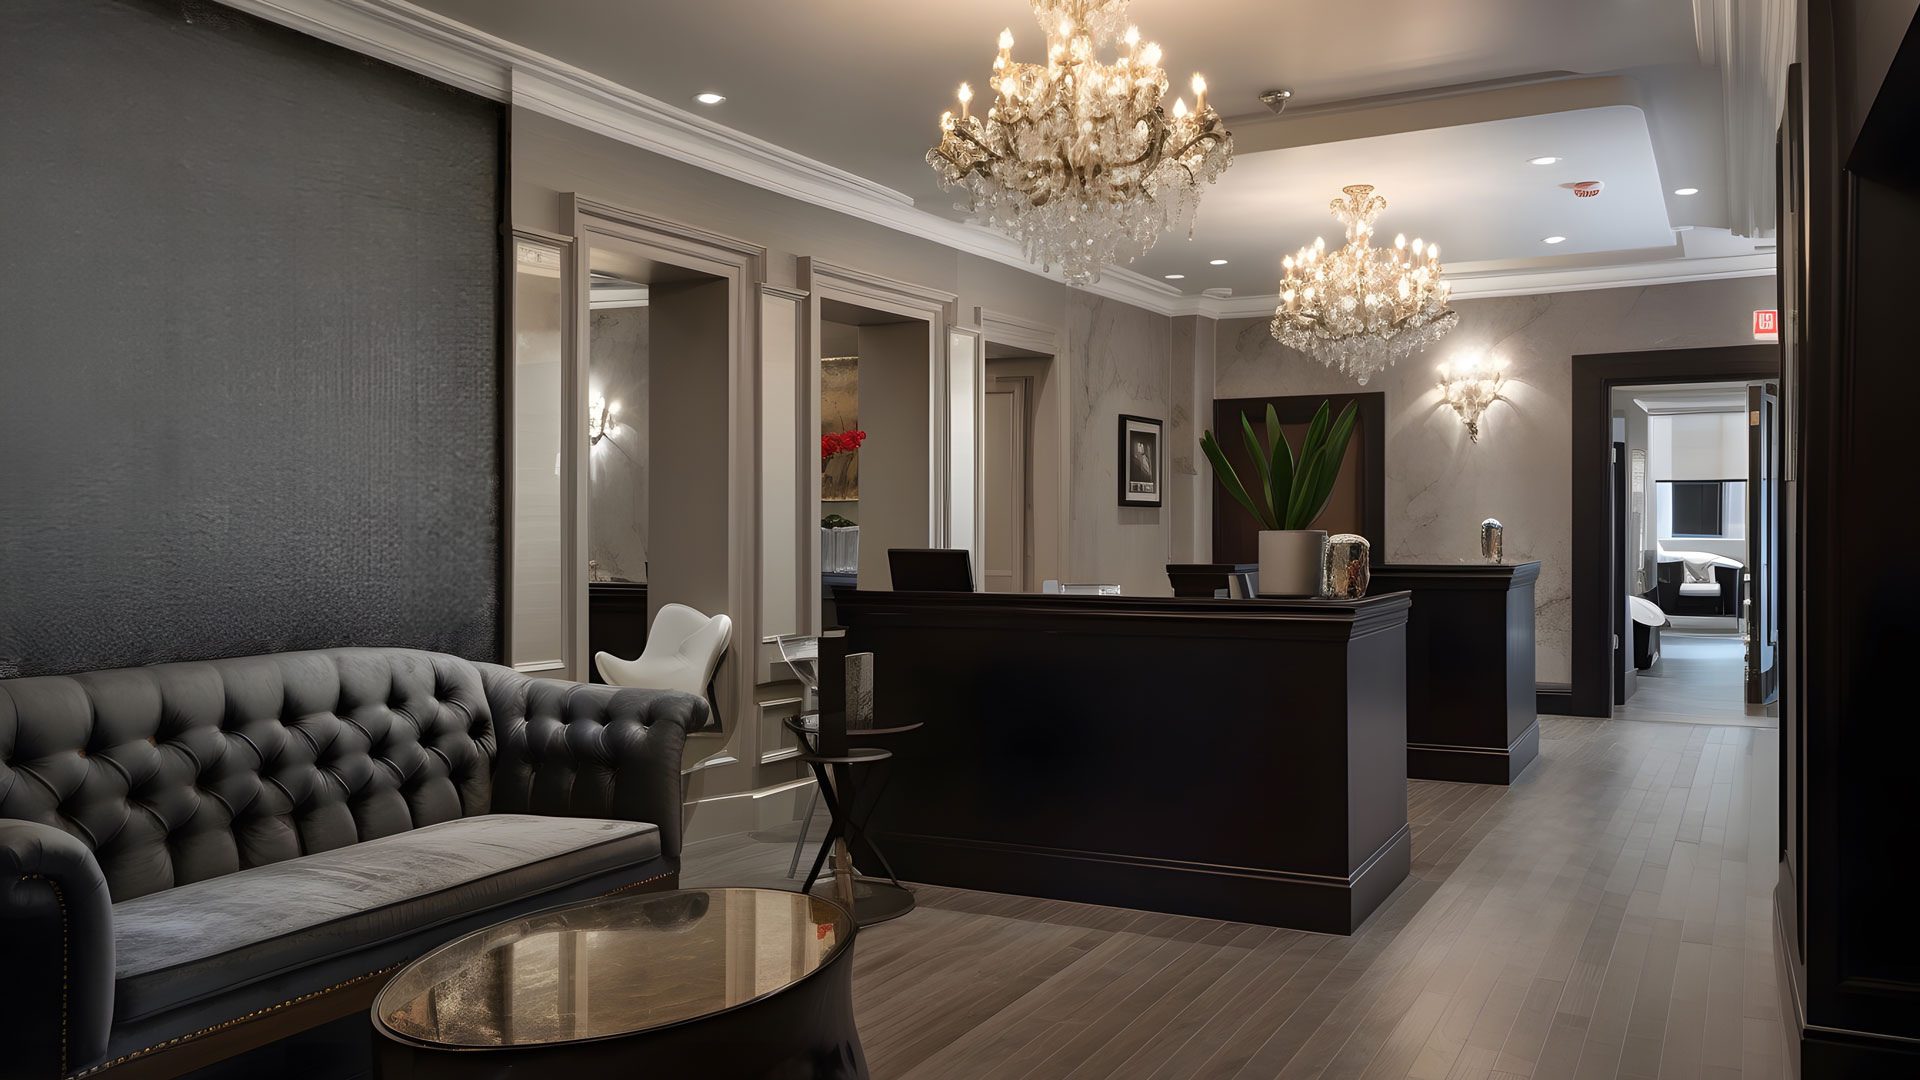
Expanding Beyond the Home: Commercial Renovations
Known for transforming residential spaces, Homework Remodels, our sister company, is excited to announce the expansion of its services to include commercial renovations. Building upon a strong foundation of exceptional ...
Read More 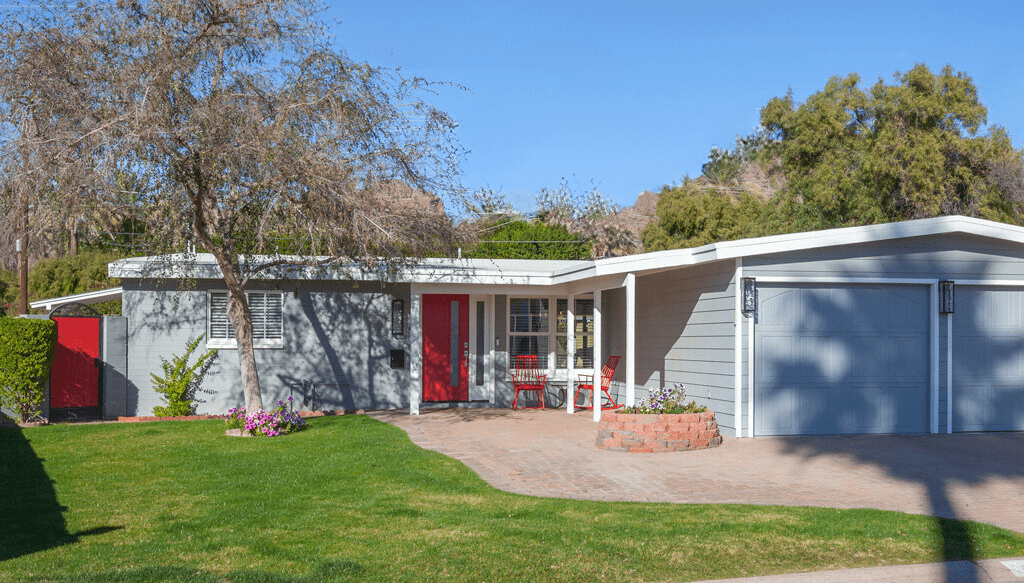
Transform Your Mid-Century Modern Home Into Your Modern Desert Oasis
Mid-century modern homes, with their clean lines, open floor plans, and connection to the outdoors, are experiencing a resurgence in popularity. If you own one of these architectural gems in ...
Read More 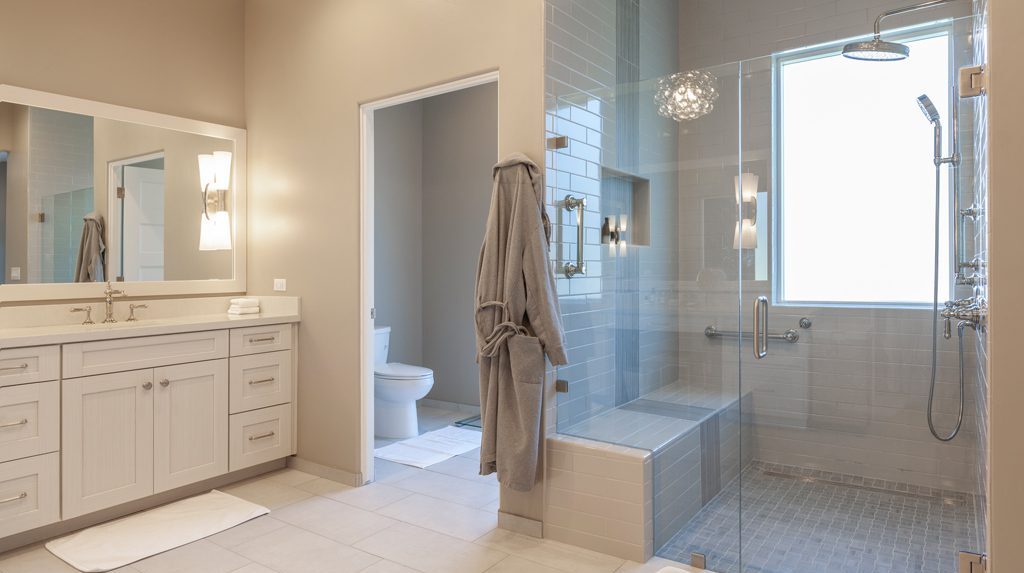
Designing the Perfect Bathroom: Essential Considerations for a Professional Remodel
A bathroom remodel is more than just a cosmetic upgrade; it’s an investment in comfort, functionality, and property value. Whether you're aiming for a spa-like retreat or a practical family-friendly ...
Read More 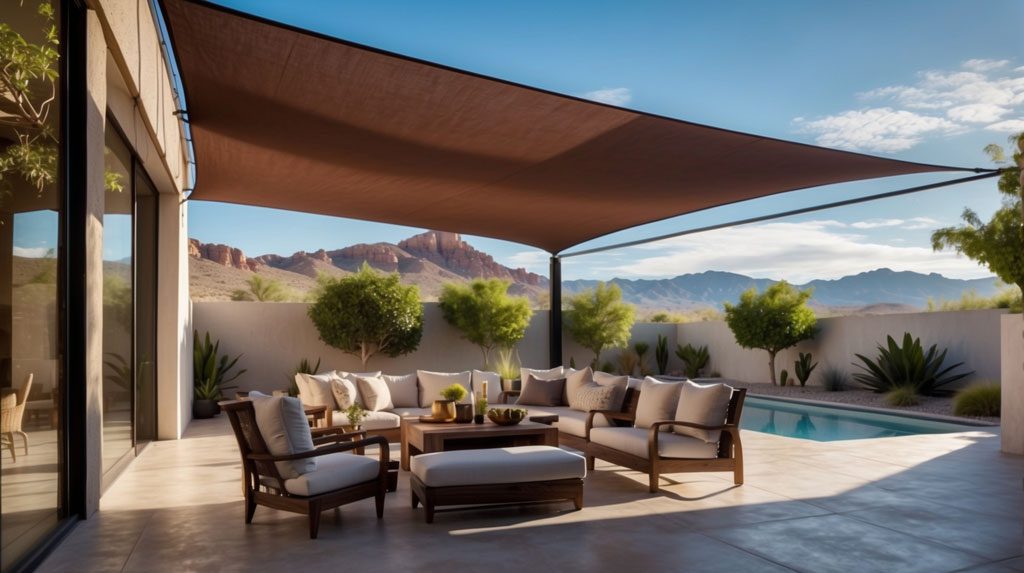
Beat the Phoenix Heat: Remodel Your Way to Cool Comfort with Tri-Lite Builders
Phoenix summers are legendary for their scorching temperatures. While air conditioning might seem like the only answer, there’s a smarter way to achieve cool comfort in your home. Here at ...
Read More 
Essential Steps to Get Ready for Your Remodel
Get Ready For Your Remodel Is your kitchen more a "disaster zone" than a "dream space"? Does the mere thought of whipping up a meal send shivers down your spine? ...
Read More 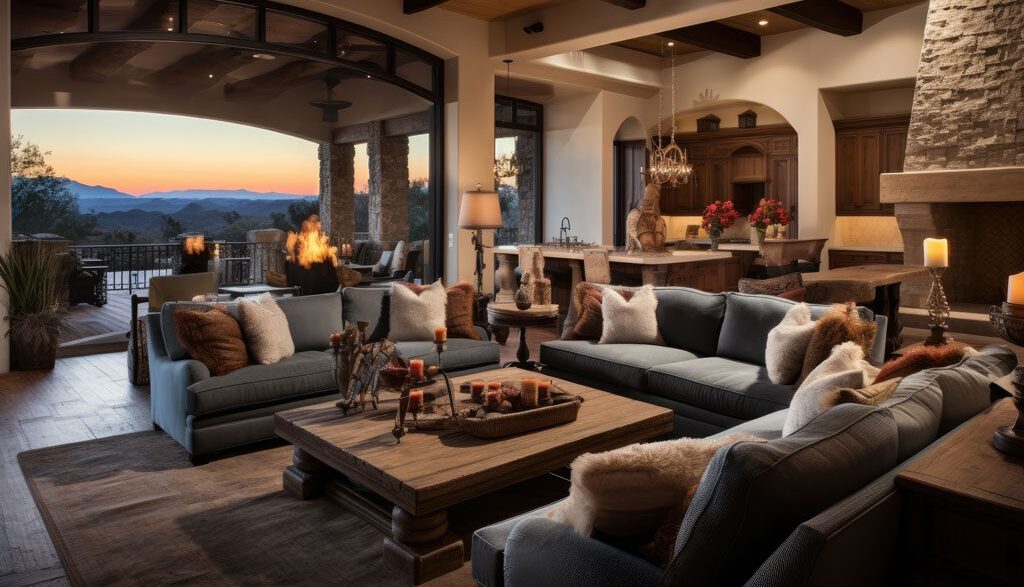
Phoenix Home Remodeling: Trends, Tips, and Making it Shine
The Phoenix housing market might be adjusting, but homeowners are still prioritizing their spaces. In fact, 2024 Phoenix home remodeling is all about intentionality, maximizing value, and creating comfortable, functional ...
Read More 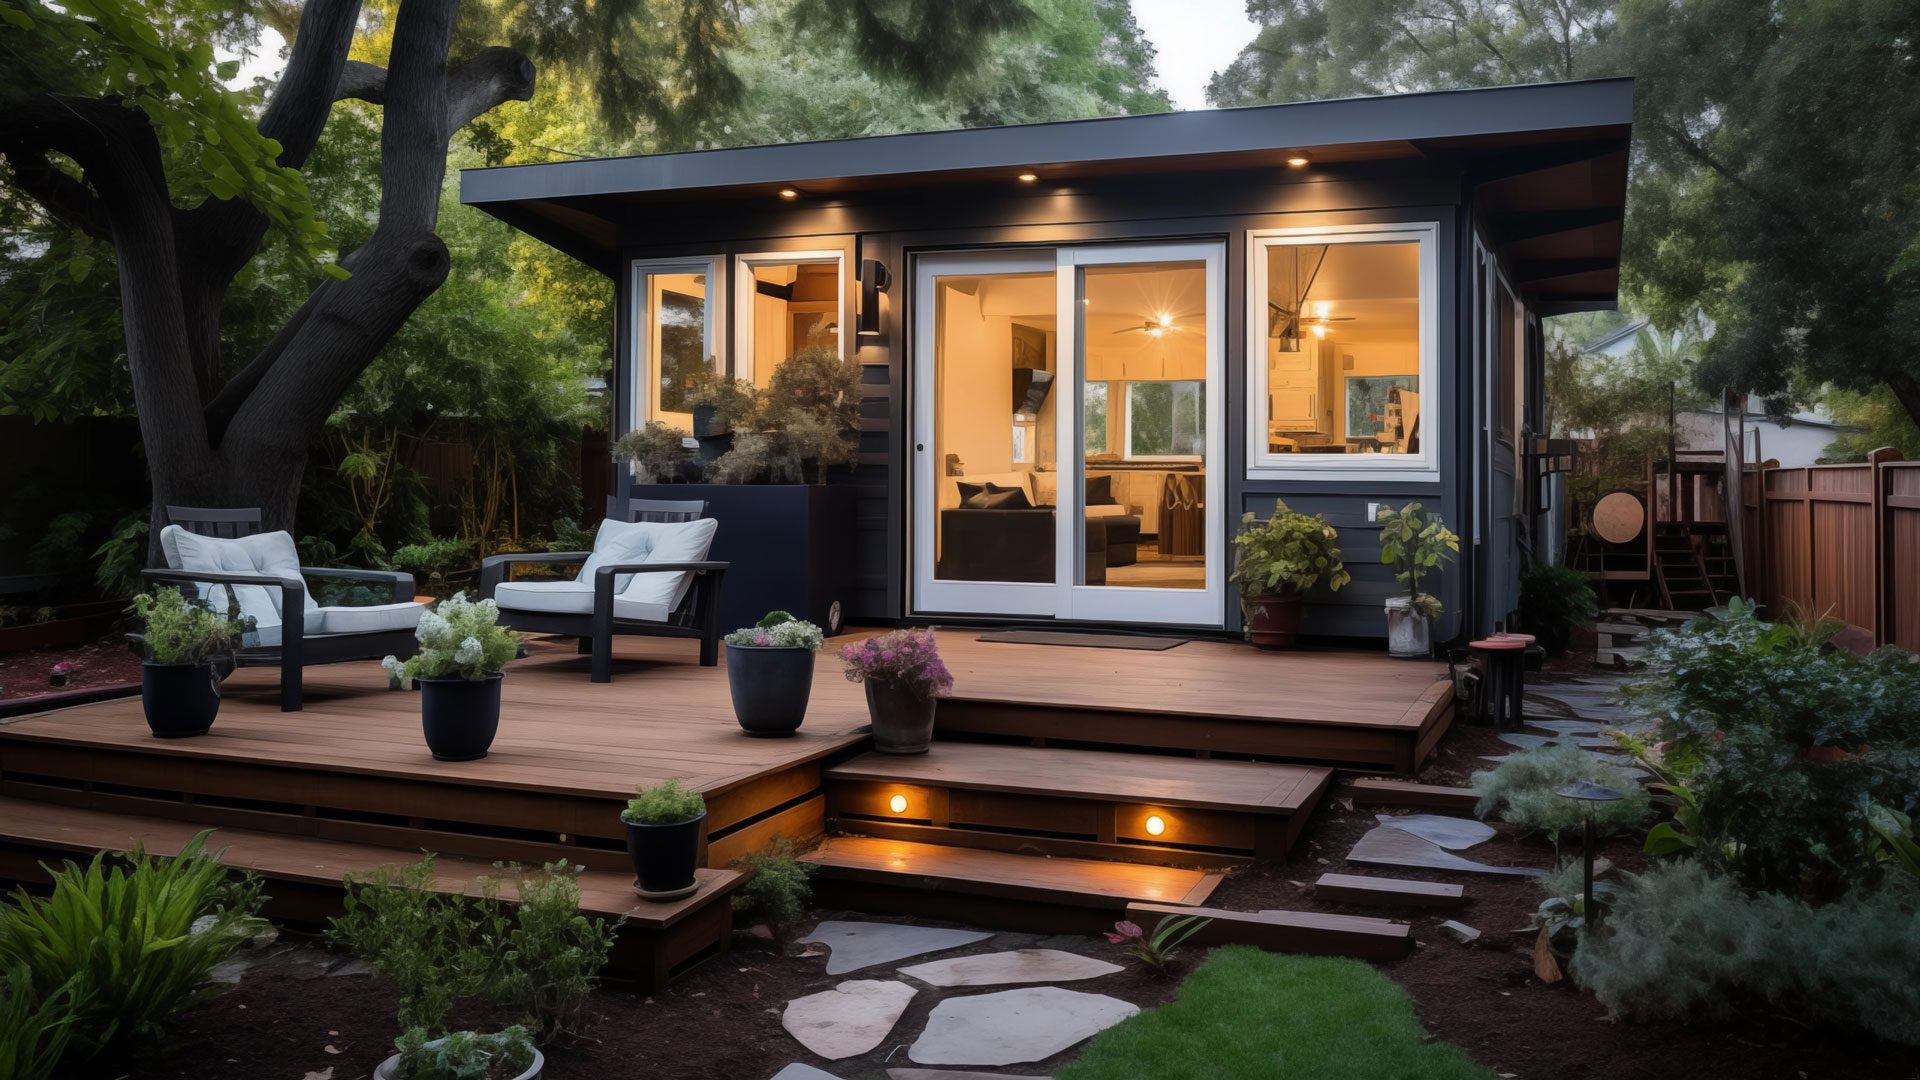
ADU: Is an In-Law Unit Right for Your Property?
Most urban and suburban lots are governed by zoning ordinances and laws that (among other things) restrict the number of dwellings allowed on a given lot. A dwelling (including an ...
Read More 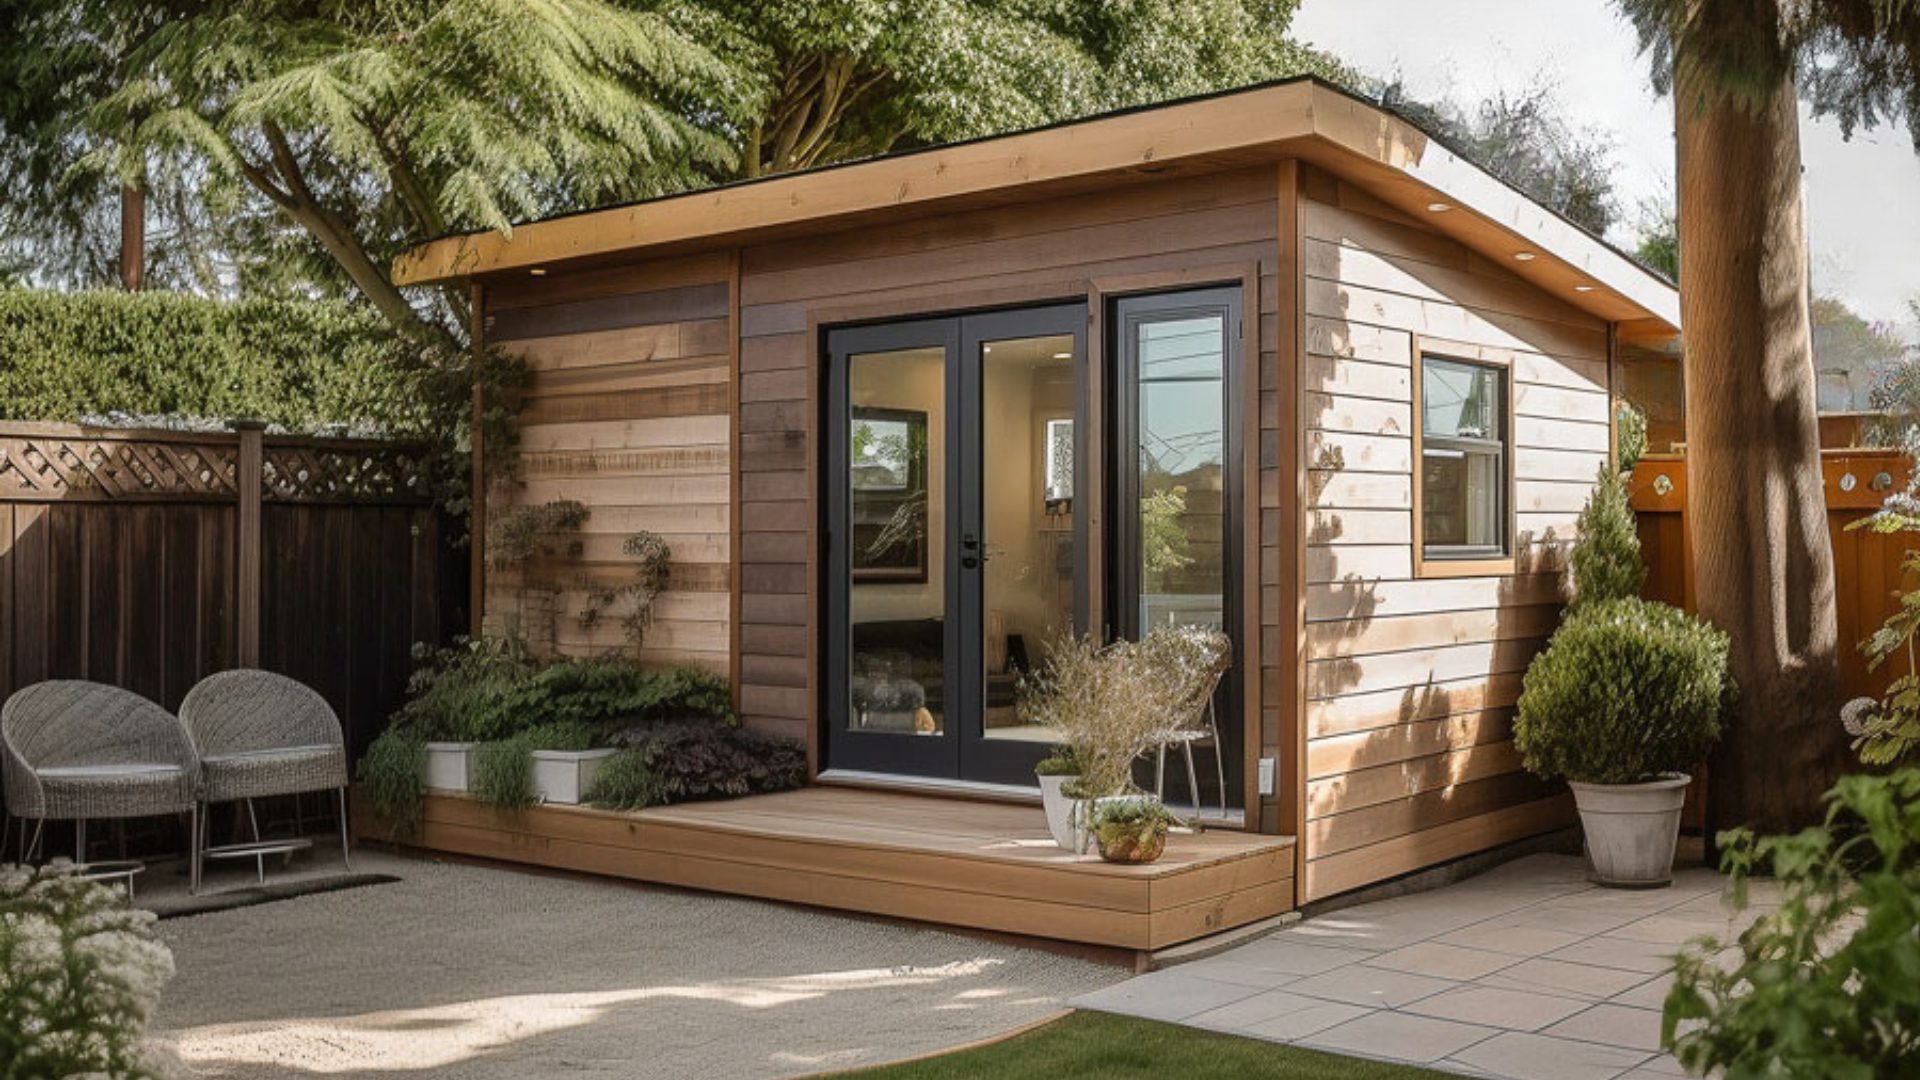
Small Space Living Inspiration: Clever ADU Design Ideas
Thinking of adding a guesthouse or rental unit to your property? Accessory Dwelling Units (ADUs) are a great way to maximize your space and potentially add value to your home. ...
Read More
Shower Bliss: Design Ideas for Your Bathroom Retreat
The shower is a sanctuary within your bathroom, a place for daily cleansing and relaxation. Here, design professionals share features they've used to create these inviting shower oases. Bold and ...
Read More