Posts Tagged ‘Home Improvement’
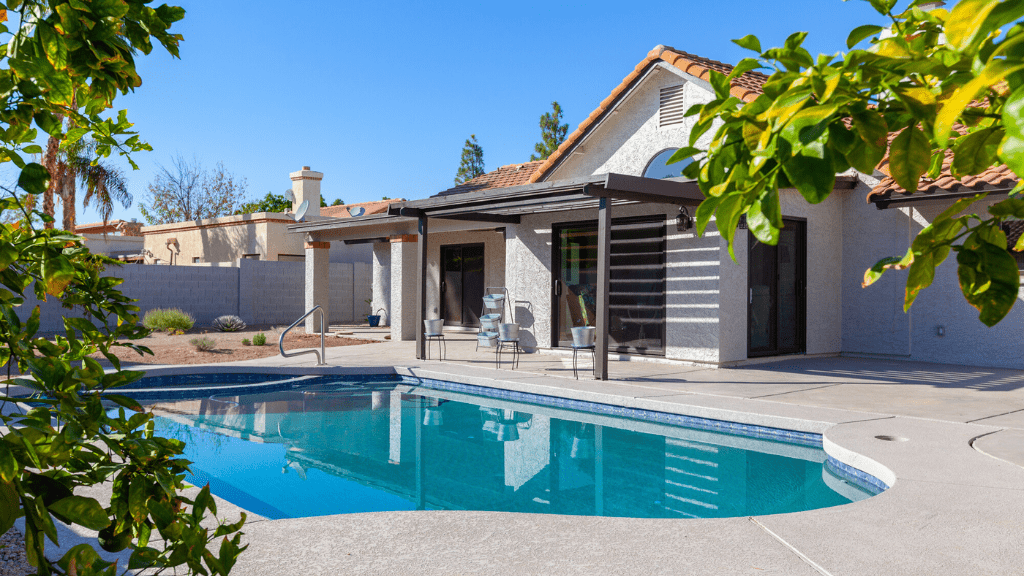
Designing Outdoor Living Spaces for Arizona’s Climate
Arizona’s unique climate presents both challenges and opportunities for creating beautiful and functional outdoor living spaces. To ensure your outdoor oasis is comfortable and enjoyable year-round, here are some key considerations: Prioritize Shade and Ventilation Incorporate Water Features Choose Low-Maintenance Landscaping Outdoor Kitchens and Entertainment Areas Embrace the Desert Aesthetic Lighting and Ambiance Homework Remodels has…
Read More
Essential Tips for Fall Home Care: Phoenix Edition
Although Phoenix’s fall weather is often pleasant, it’s important to remember that the desert climate can still present unique challenges for home maintenance. To ensure your home remains comfortable and functional throughout the season, consider these essential tips: Essential Tips for Outdoor Care Cleaning Your Outdoor Furniture and Soft Furnishings Phoenix’s hot and dry climate…
Read More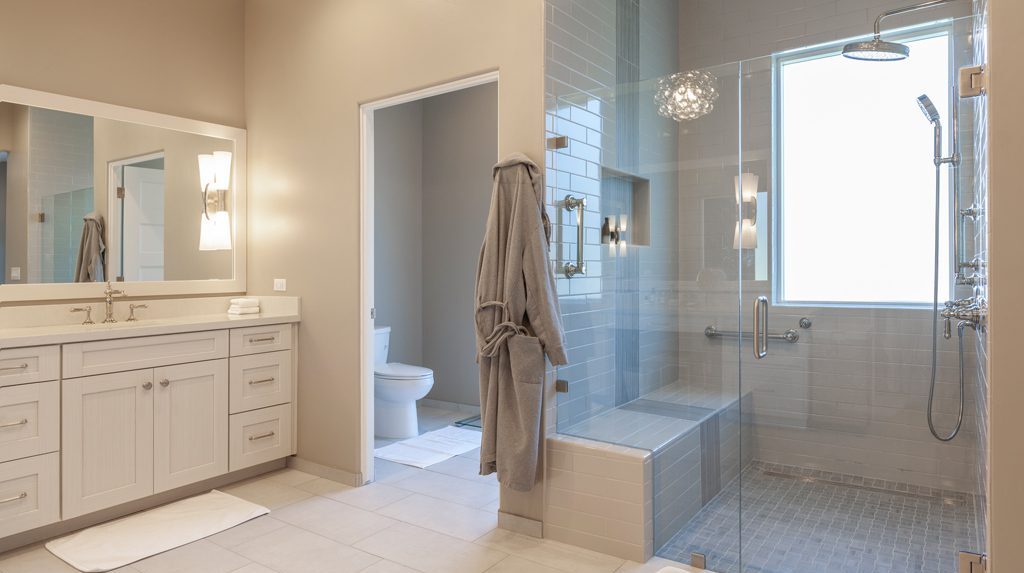
Designing the Perfect Bathroom: Essential Considerations for a Professional Remodel
A bathroom remodel is more than just a cosmetic upgrade; it’s an investment in comfort, functionality, and property value. Whether you’re aiming for a spa-like retreat or a practical family-friendly space, these key considerations will guide you towards creating a bathroom that perfectly suits your needs and style. Understanding Your New Bathroom’s Space and Needs…
Read More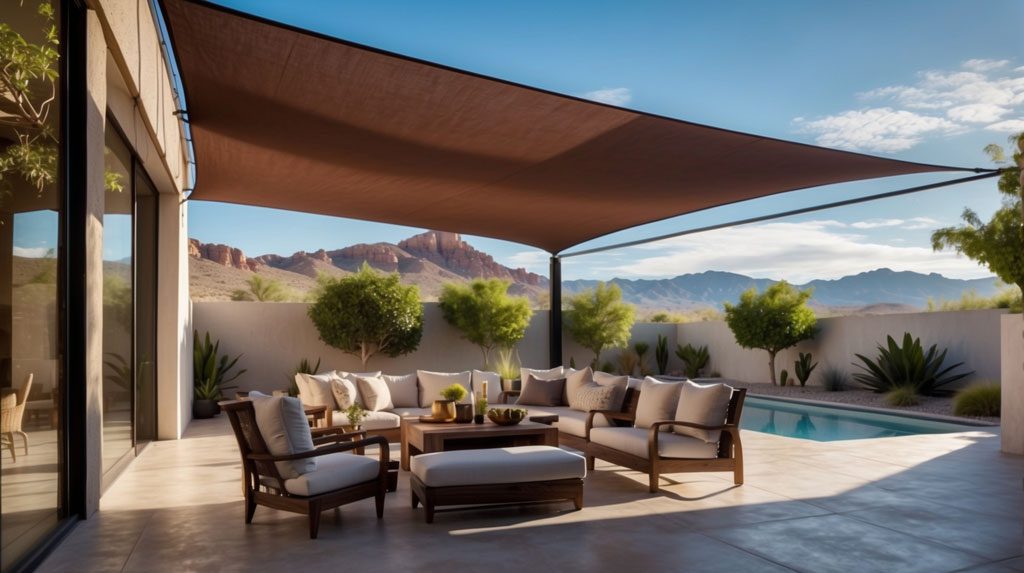
Beat the Phoenix Heat: Remodel Your Way to Cool Comfort with Tri-Lite Builders
Phoenix summers are legendary for their scorching temperatures. While air conditioning might seem like the only answer, there’s a smarter way to achieve cool comfort in your home. Here at Tri-Lite Builders, we specialize in Phoenix remodels that utilize clever design and strategic upgrades to keep your home cool naturally, even during the hottest months.…
Read More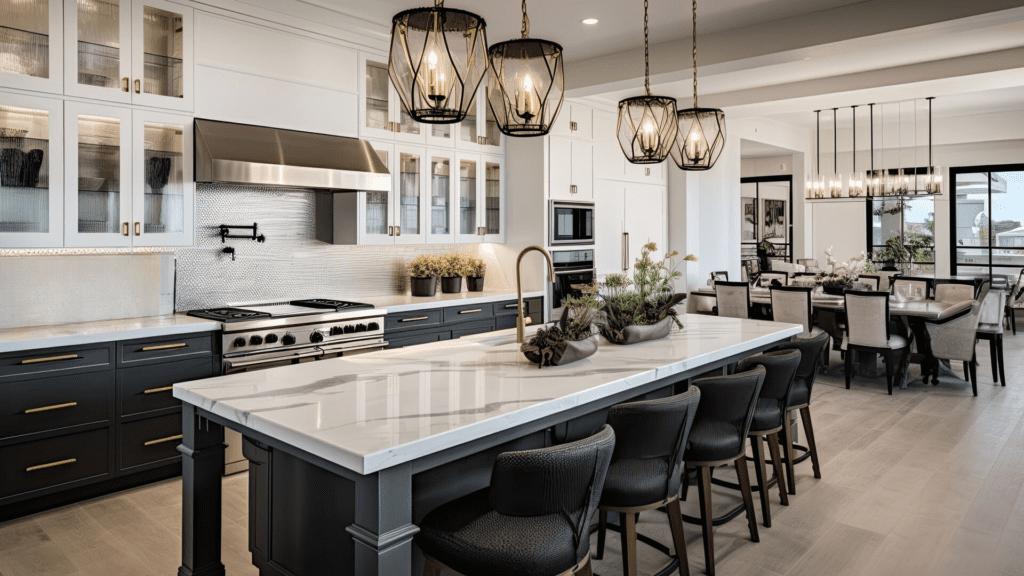
How to Create a Joyful, Clutter-Free Kitchen
From quick weekday breakfasts to special-occasion dinners planned and prepared with care, the kitchen is nearly always a hub of household activity — which also means it’s a common place for clutter to accumulate. Here we look at ways of clearing the clutter and creating a beautiful, useful space in the kitchen. Clear the Clutter…
Read More
Home Priorities Shift as Pandemic Reshapes How We Live
The pandemic permanently changed the way we use our homes. Gone are the days of sprawling mansions – today’s homeowners crave comfort, functionality, and spaces that can adapt to our new work-from-home reality. Here’s a look at what’s trending in home design: Cozy Comfort Home Offices Take Center Stage Planning for the Future Home Entertainment…
Read More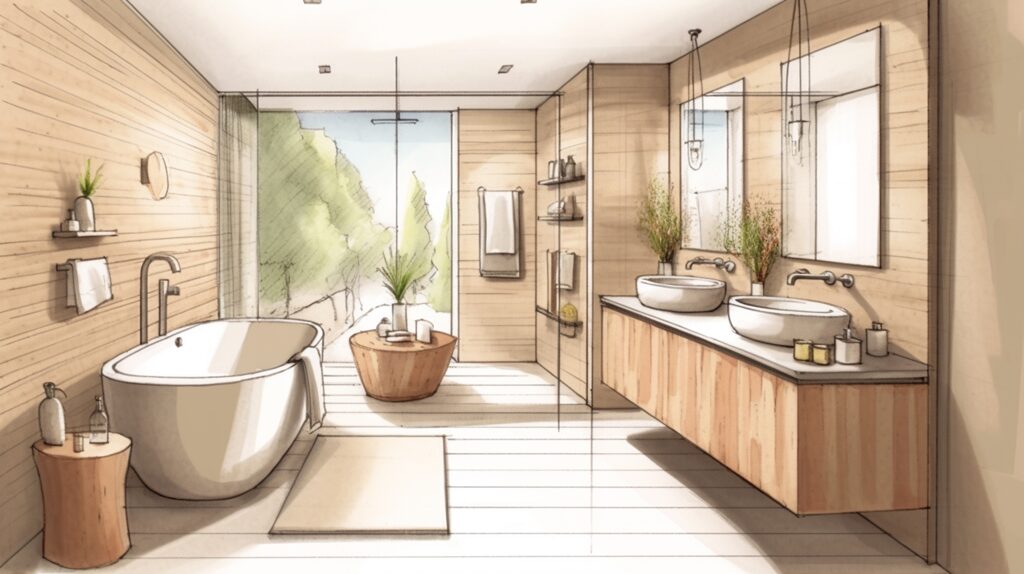
12 Custom Storage Solutions for a Clutter-Free Bathroom
There are a lot of details, both big and small, to think about when designing or remodeling a bathroom. And I believe that to create a space that truly works for you, investing extra time and money on custom storage in the planning stages will be worth it in the long run. Here are 12 custom storage…
Read More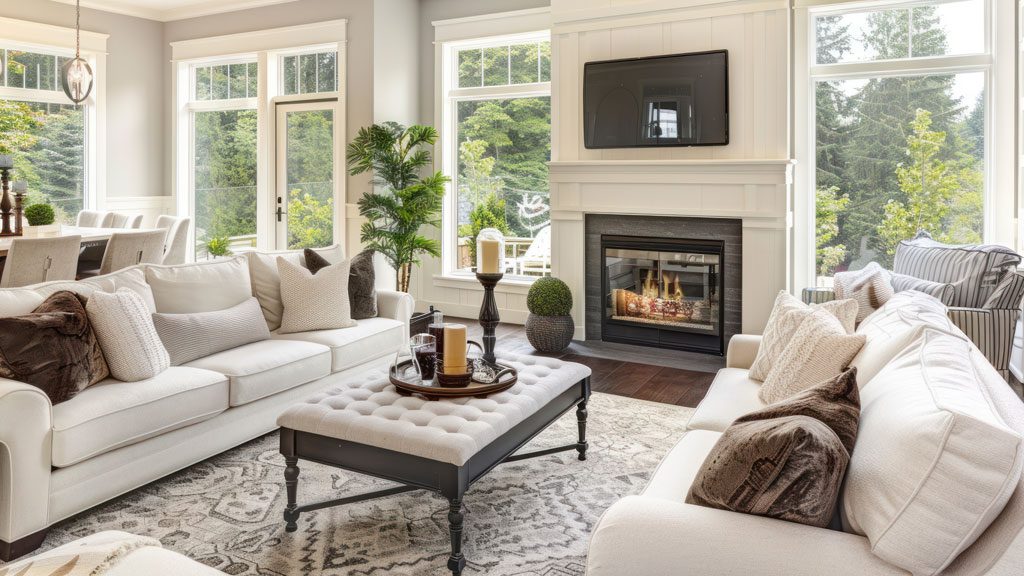
How to Get Your Furniture Arrangement Right
Like a blank page or canvas, an empty room can be either an opportunity or a challenge. With so many ways to fill it, how do you know where to start? I’ve taken some of the basic rules of furniture arrangement and distilled them into 10 simple tips. They’ll help you work with your interior designer…
Read More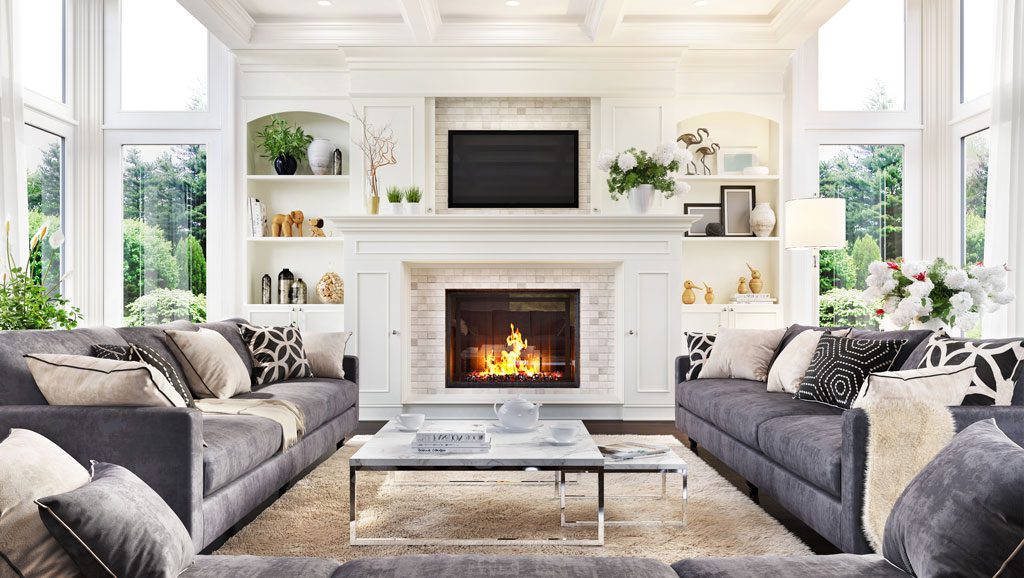
10 Keys to a Well-Functioning House
The design of a house can have a profound effect on how we feel, but we often attribute this to aesthetics. In fact, it’s about so much more including creating a well-functioning house. Good design should enhance our experience of a space, and the way a room looks is almost the icing on the cake.…
Read More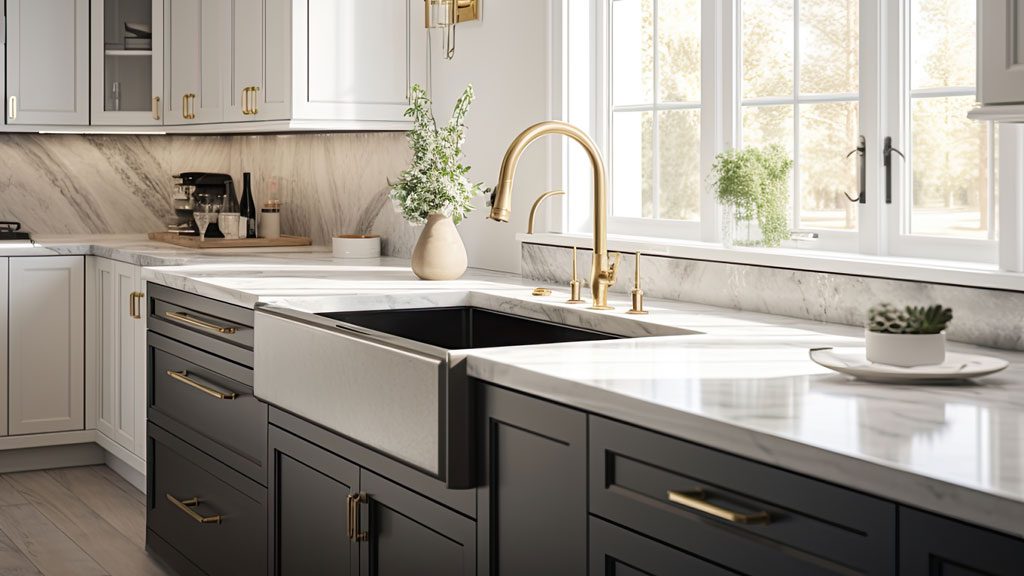
Dream Kitchen Must-Haves: From Practical to Luxurious
When designing your dream kitchen, it’s okay to dream big! Here is a compiled list of 11 features that will elevate your kitchen from functional to fabulous. Some are splurge-worthy, while others are practical upgrades that will make your life easier. 1. Quartz Countertops Quartz offers the beauty of natural stone like granite or marble,…
Read More