Posts Tagged ‘Design Build’
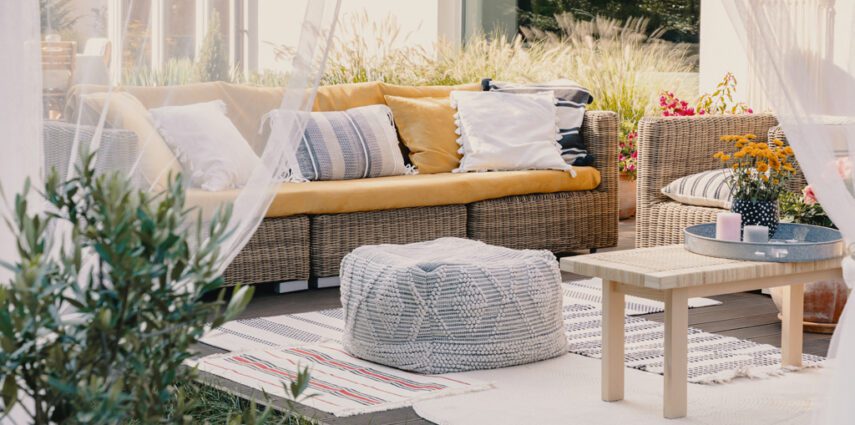
6 Ways to Cool Off Without Air Conditioning
Having an air conditioner is a near-must in climates where months-long heat waves are a summer norm. And with that comes an equally scorching energy bill. Even in regions with gentler climates, homeowners can still experience enough hot days in a row to nearly go mad. It doesn’t have to be so hard. Whether you want…
Read More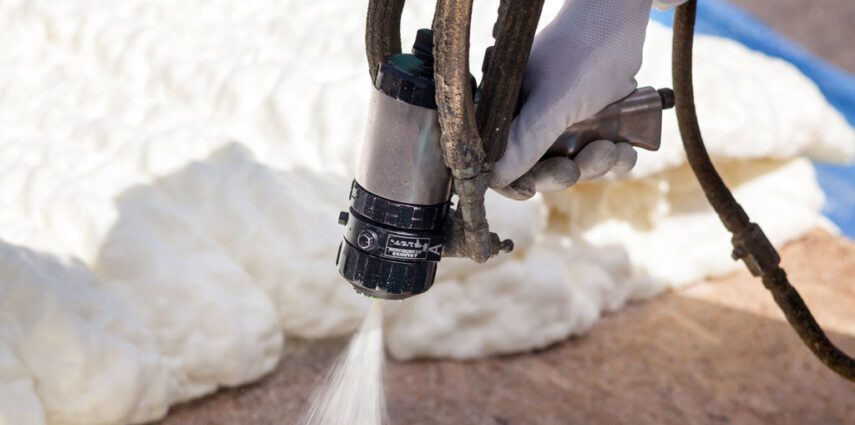
Insulation Basics: What to Know About Spray Foam
Learn what exactly spray foam insulation is, the pros and cons of using it, and why you shouldn’t mess around with installation. While we all wish there were a single answer for any given problem, oftentimes that’s just not the case. This is true for material options for home spray foam insulation. Despite what the…
Read More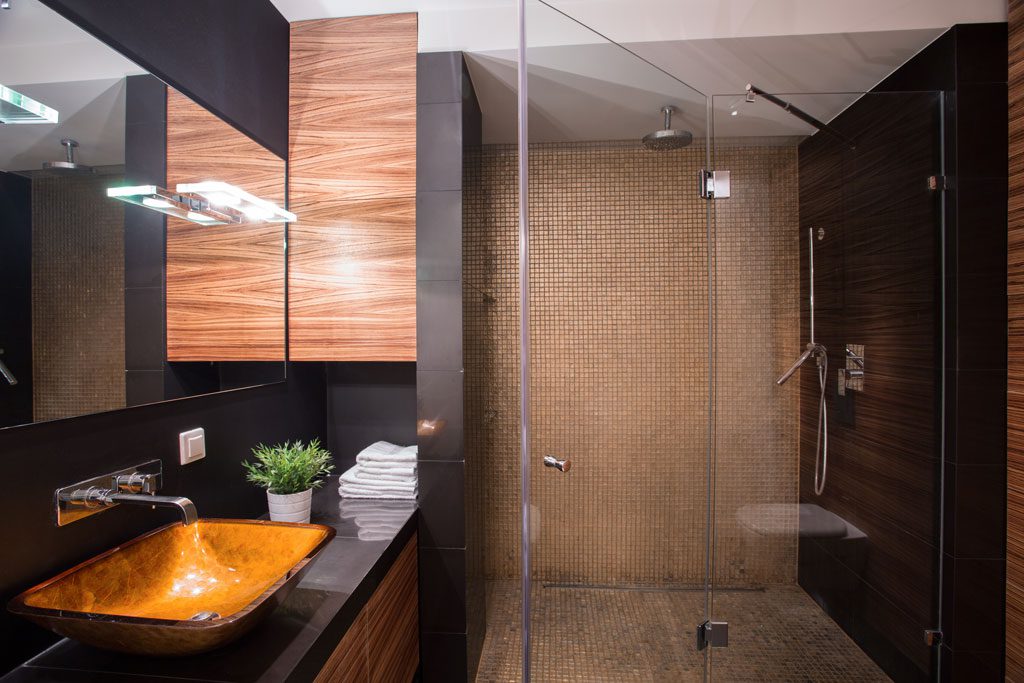
Top Bathroom Design Features Pros Always Recommend
We love sharing informative articles from HOUZZ – they are on top of trends and information that will help you determine the best home remodeling decisions for your project! Planning a bathroom remodel and wondering what design element will make the new space one that you will love? We think this article about the top…
Read More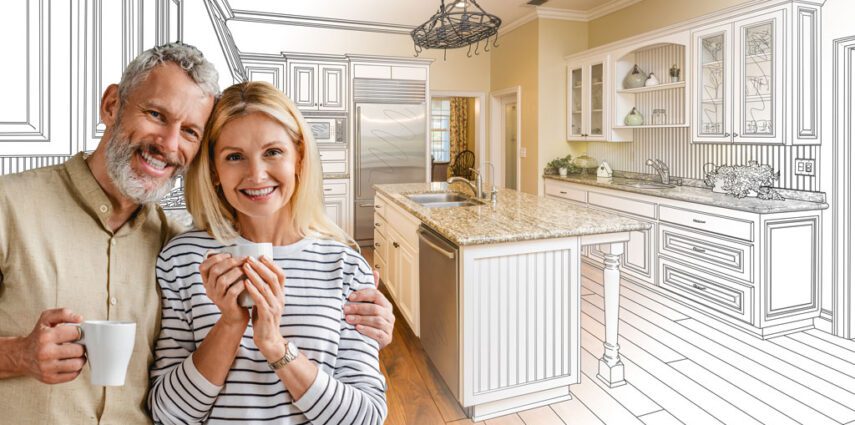
How the Design/Build Concept Works
You’ve been dreaming of your remodel for a long time and the time is right for you to finally go for it! Now, that you are ready, do you know what the best process is for a successful remodel? Tri-Lite Builders has developed a proven Design/Build concept we go through with all our clients that…
Read More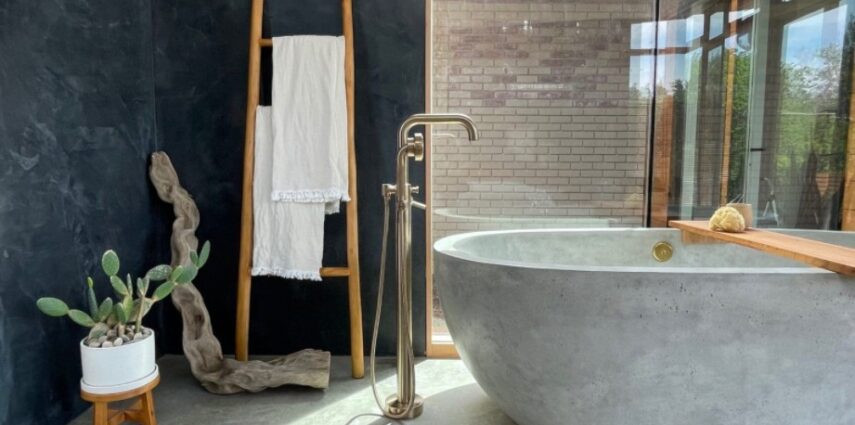
MEET THE DESIGN PSYCHOLOGIST WHO PUT A NATIVE STONE BATHTUB IN HER BEDROOM
Note from Homework Remodels: We loved reading this blog from Native Trails! As you learn more about this designer, she also shares the psychology of design and how a good design in a remodel can create a space that makes you feel good. We think this information is essential for the pandemic culture we live…
Read More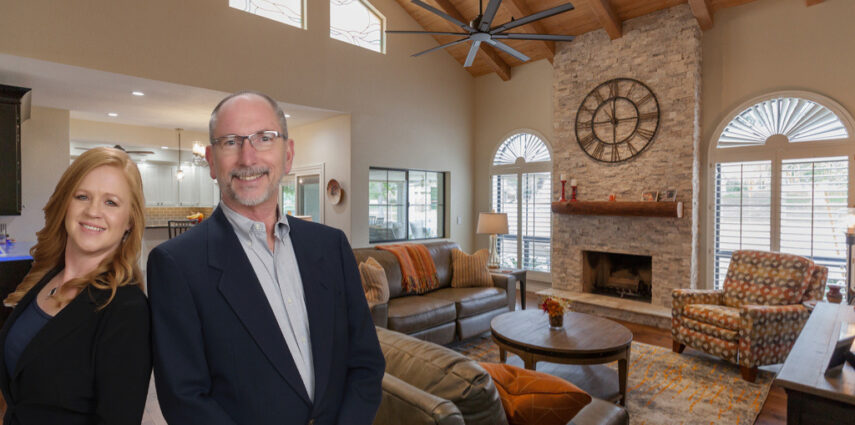
Looking for an Award-winning Team for Your Remodel?
Looking for an award-winning team for your remodel? We know trusting your home and your remodel to us is a huge decision! You deserve the best! Homework Remodels use only the most qualified experts and are led by an award-winning team backed by many years of experience in the field. When it comes to interior design and…
Read More
6 BATHROOM UPGRADES FOR YOUR REMODELING PROJECT
Bathrooms are one of our most used spaces but can be a tricky space to upgrade or update. With unmovable fixtures and often tight footprints, options can seem limited at first glance. With a little creativity, though, you can add style and bring your bathroom up to date. We’ve put together a list of 6…
Read More