Posts Tagged ‘Award-winning Designs’

Ever Feel Like Remodeling is a Headache? Design-Build System is Your Answer!
Are you thinking about a remodel or a new construction project? You’ve probably heard about architects and contractors, and maybe it all sounds a bit complicated. Well, there’s a more straightforward way: the Design-Build System! Instead of keeping your architect and contractor separate, our proven Design-Build System brings everyone together onto one team, right from…
Read More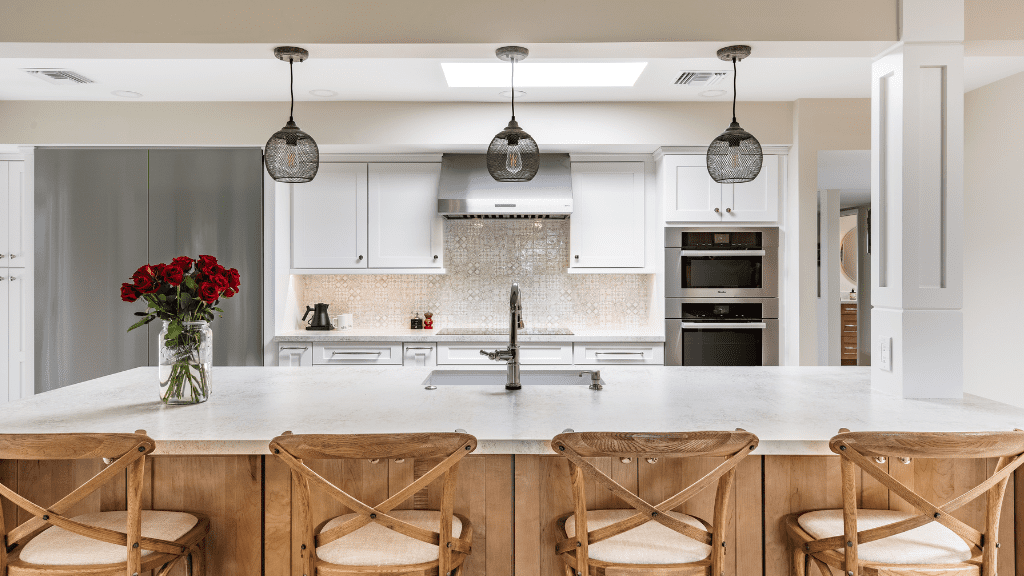
Homework Remodels Wins Big at the 2025 NARI Greater Phoenix RotY Awards
We are thrilled to announce that Homework Remodels, our sister company, has been recognized as a leading force in the Phoenix remodeling scene, achieving a remarkable feat at the National Association of the Remodeling Industry (NARI) Greater Phoenix 2025 Remodeler of the Year (RotY) Program. We are incredibly proud to have walked away with five…
Read More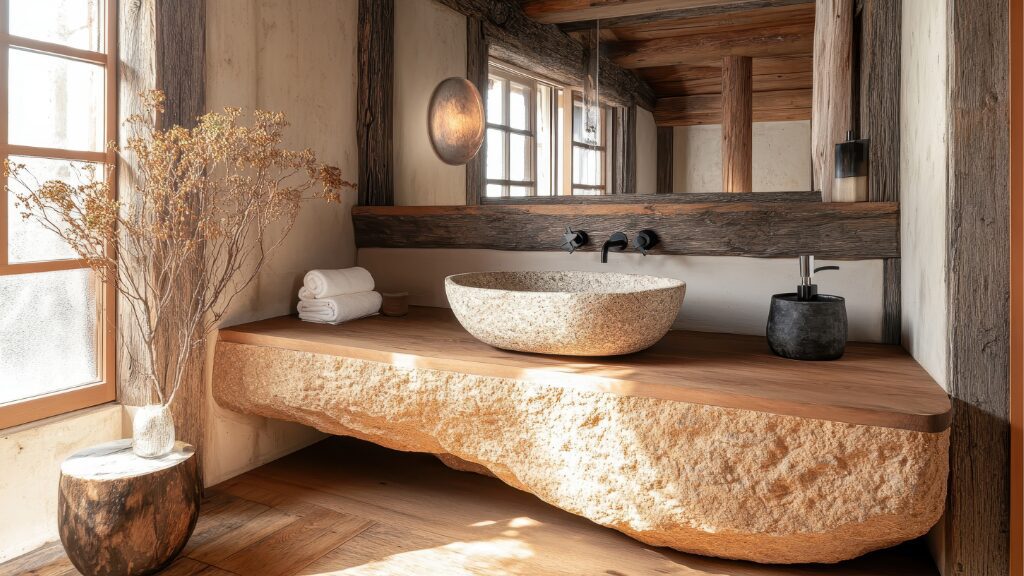
Home Design Trends: A Harmonious Blend of Warmth, Style, and Personality
The world of interior design is constantly evolving, with new home design trends emerging each year. However, some themes have stood the test of time and continue to be embraced by design professionals and homeowners alike. In 2024, a harmonious blend of warmth, organic modern style, wood accents, layered textures and patterns, and personalized touches…
Read More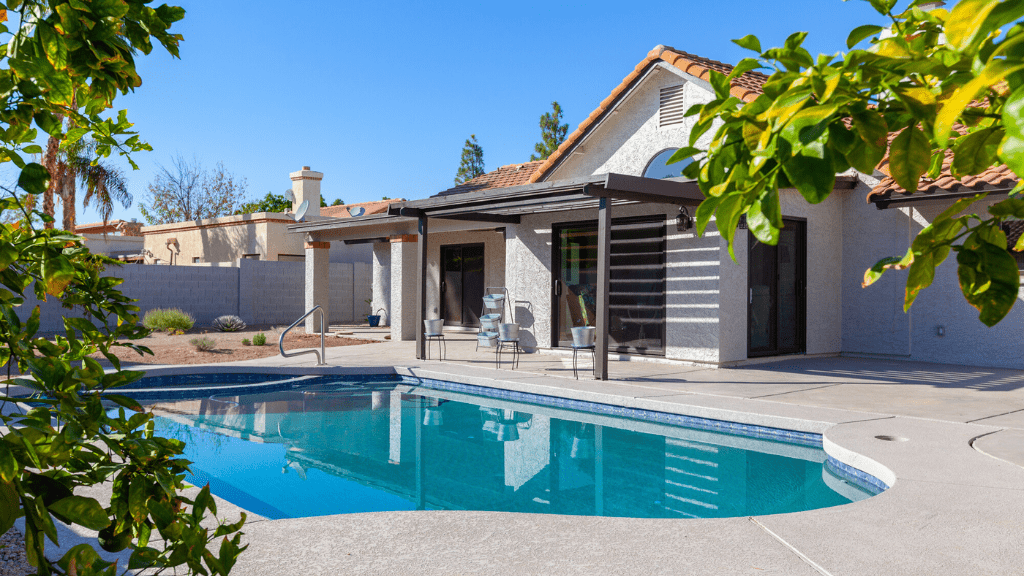
Designing Outdoor Living Spaces for Arizona’s Climate
Arizona’s unique climate presents both challenges and opportunities for creating beautiful and functional outdoor living spaces. To ensure your outdoor oasis is comfortable and enjoyable year-round, here are some key considerations: Prioritize Shade and Ventilation Incorporate Water Features Choose Low-Maintenance Landscaping Outdoor Kitchens and Entertainment Areas Embrace the Desert Aesthetic Lighting and Ambiance Homework Remodels has…
Read More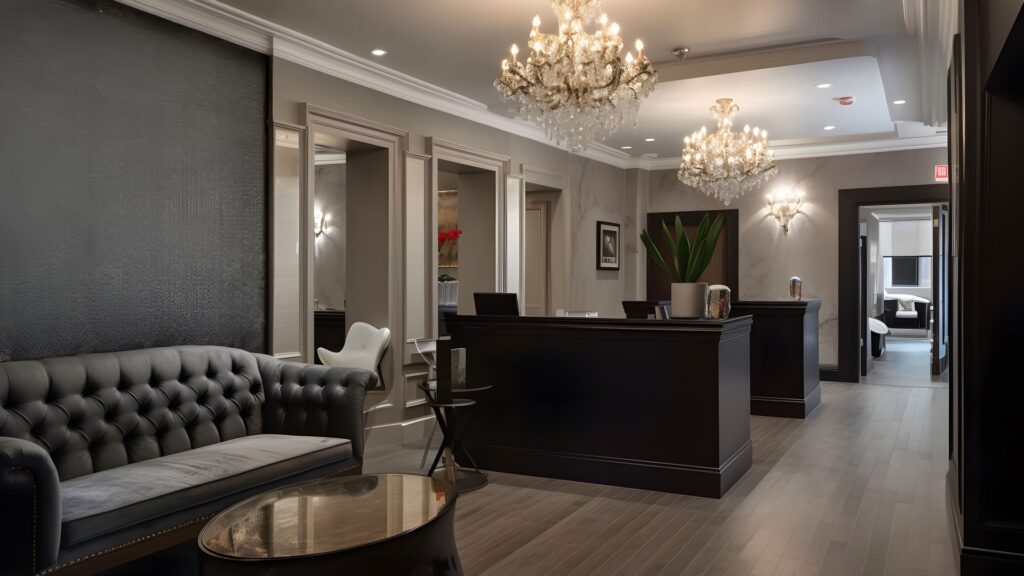
Expanding Beyond the Home: Commercial Renovations
Known for transforming residential spaces, Homework Remodels, our sister company, is excited to announce the expansion of its services to include commercial renovations. Building upon a strong foundation of exceptional design and craftsmanship, the company is now bringing its expertise to businesses seeking to elevate their work environments. This natural progression allows Homework Remodels to…
Read More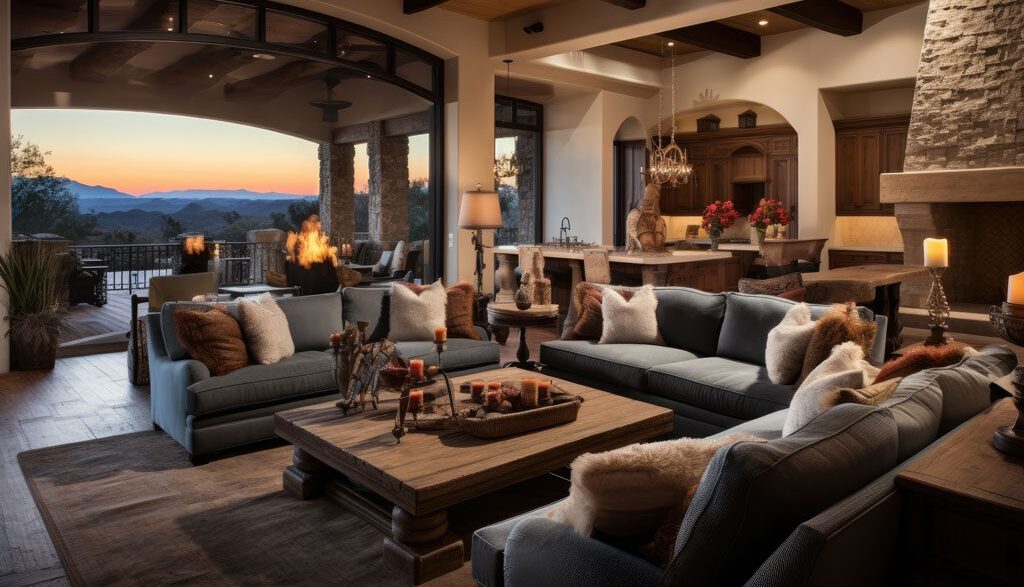
Phoenix Home Remodeling: Trends, Tips, and Making it Shine
The Phoenix housing market might be adjusting, but homeowners are still prioritizing their spaces. In fact, 2024 Phoenix home remodeling is all about intentionality, maximizing value, and creating comfortable, functional havens. Let’s explore key trends and considerations to elevate your home this year: Trending in Phoenix Home Remodeling 2024 Considerations for Your Home Remodel Making…
Read More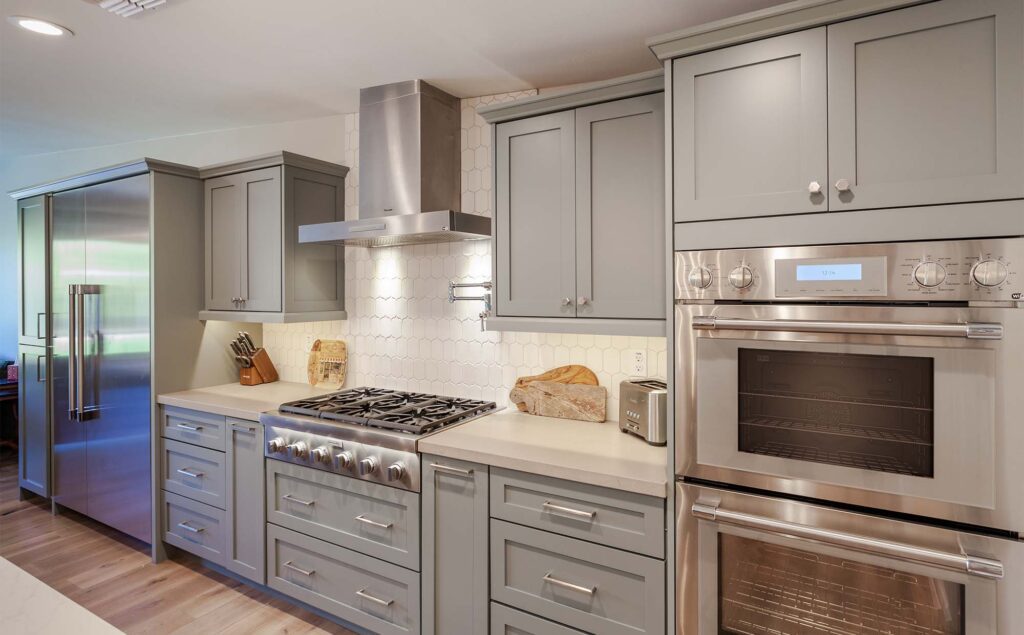
Where Designers Would Spend and Save in a Kitchen
Our experts suggest where to splurge and where to trim the budget when redesigning your kitchen Written by Julie Butterworth, Houzz Contributor, and homes, architecture, and property journalist. A budget helps you to know where to save and where to spend. From appliances and fixtures to countertops and cabinets, a healthy balance of investment and…
Read More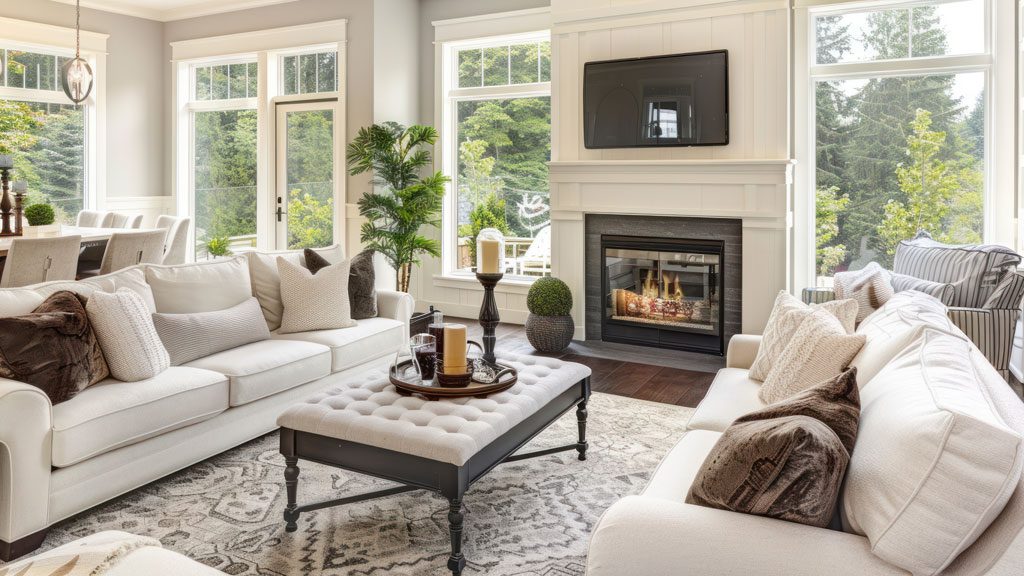
How to Get Your Furniture Arrangement Right
Like a blank page or canvas, an empty room can be either an opportunity or a challenge. With so many ways to fill it, how do you know where to start? I’ve taken some of the basic rules of furniture arrangement and distilled them into 10 simple tips. They’ll help you work with your interior designer…
Read More
Top 10 Kitchen Island Must-Haves for 2023
Kitchen islands are the heart of the modern kitchen, offering extra prep space, storage, and a place to gather. But with so many design options, it can be overwhelming to know where to start. Here, we reveal the 10 features kitchen designers recommend most often to create a beautiful and functional island that reflects your…
Read More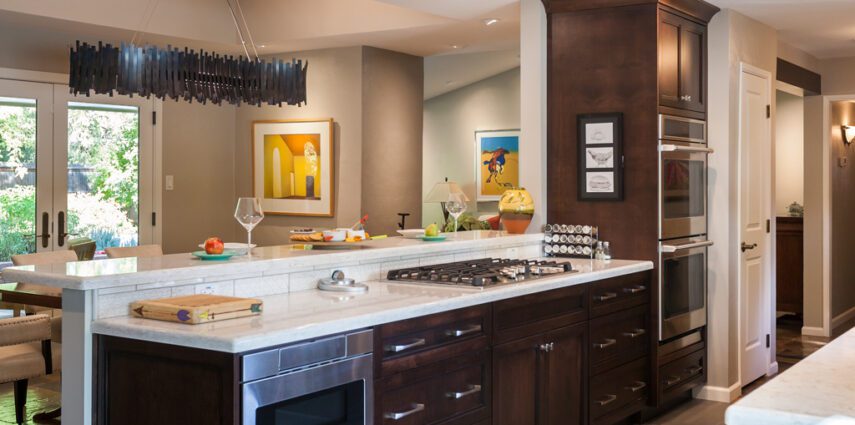
COMMON DECORATING MISTAKES AND HOW TO FIX THEM
If you’re scratching your head over why the decor in your home leaves you feeling slightly underwhelmed, a remedy — or at least an improvement — may be just a few moves away. Whether it’s a bland room, a paint color you’re not quite sure about, or throw pillows that refuse to sit right, here…
Read More