Posts Tagged ‘Aging in Place’
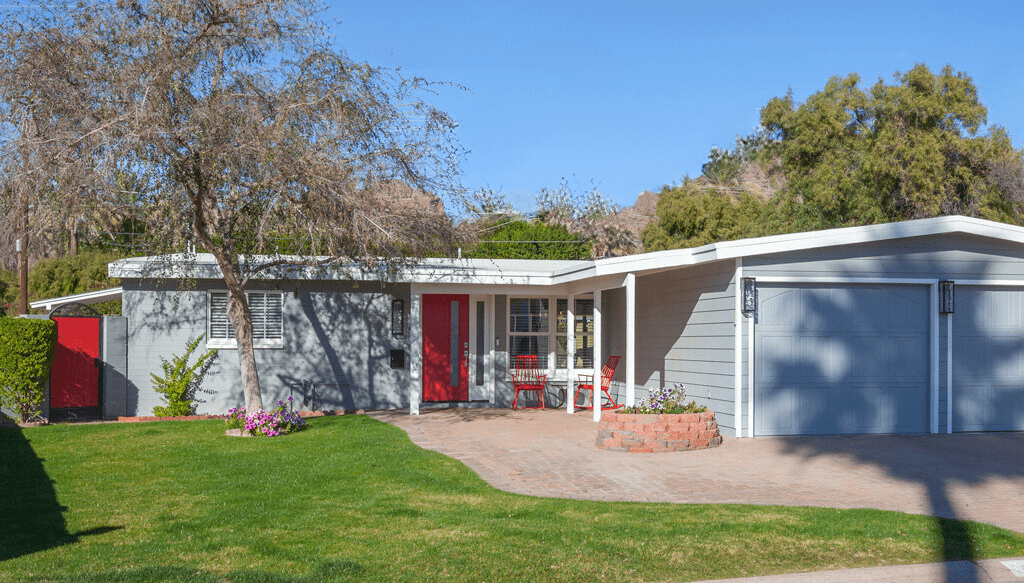
Transform Your Mid-Century Modern Home Into Your Modern Desert Oasis
Mid-century modern homes, with their clean lines, open floor plans, and connection to the outdoors, are experiencing a resurgence in popularity. If you own one of these architectural gems in the Phoenix area, you have a unique opportunity to create a truly special living space. Here’s how to transform your mid-century home into a modern…
Read More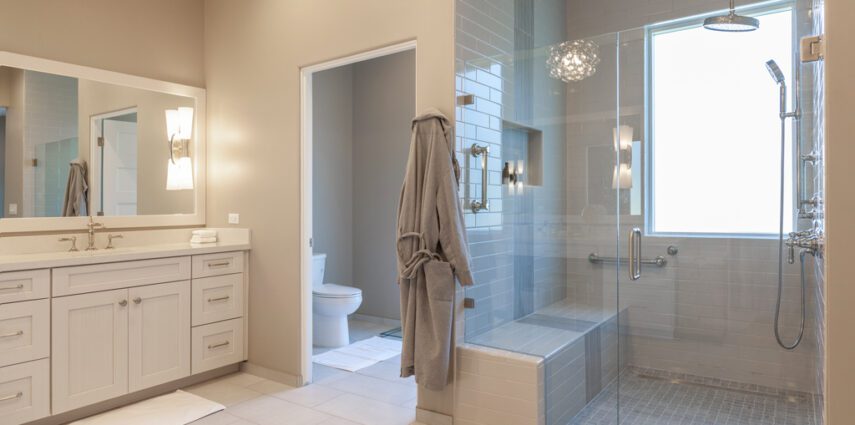
11 WAYS TO AGE-PROOF YOUR BATHROOM
Renovate Your Bathroom with Accessibility in Mind If you’re planning to stay in your house for the rest of your life, consider renovating your bathroom with accessibility in mind. Along with kitchens, bathrooms are one of the spaces homeowners use the most. They also happen to be wet zones. Reducing slip hazards and ensuring adequate…
Read More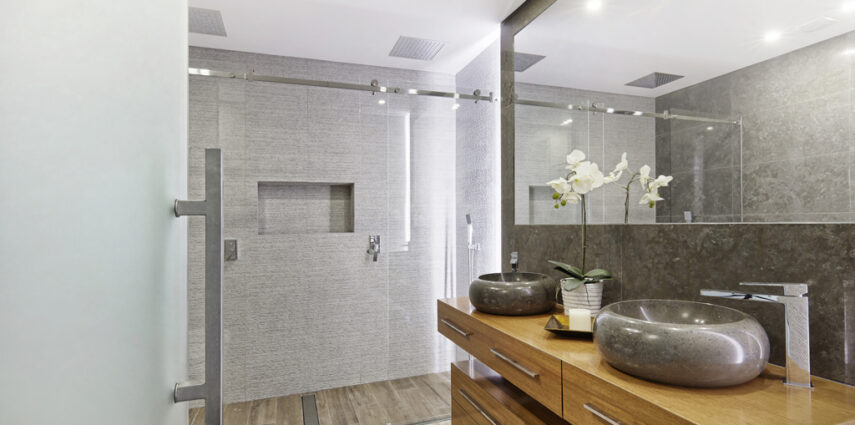
5 Reasons to Rethink the Shower: Why Curbless Showers Rule
Bathrooms are one of the biggest motivators for homeowners to plan a remodel. While there are many reasons, often it is because they want their bathroom to feel like an oasis. Curbless showers can definitely contribute to that luxurious feel, but here are 5 reasons why they’re a game-changer from a practical standpoint: They are…
Read More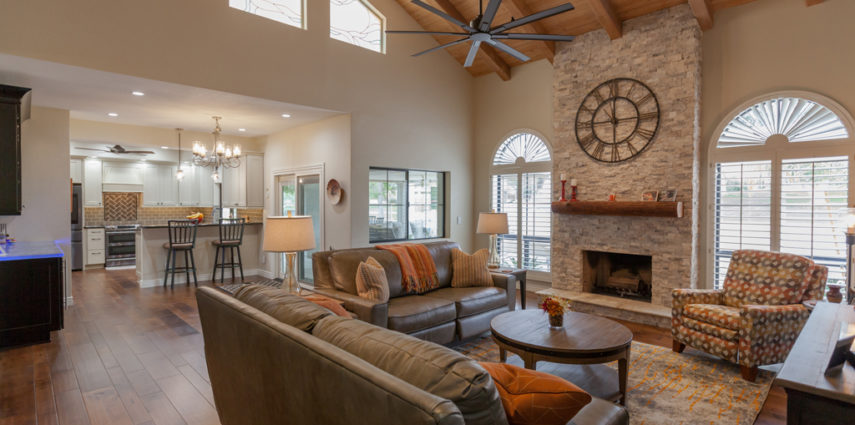
It’s That Time of Year!
NARI CONTRACTOR OF THE YEAR AWARD PROJECT *This is from our sister company, Homework Remodels. It’s that time of year! The NARI Contractor of the Year Award Project submission! Our project is being submitted in the Entire House category, $250,000 – $500,000. This entire house project is reviewed by an impartial panel of industry experts who…
Read More